Ultrasonic Testing or Ultrasonic Flaw Detection is a type of non-destructive Testing that employs high-frequency ultrasound waves to perform inspections and measurements. Ultrasonic inspection is often used to discover and evaluate flaws, measure dimensions, characterize materials, and more.
Sound waves with a frequency greater than 20 kHz and a 1.9 cm or less wavelength at atmospheric pressure are known as ultrasound waves. In simpler words, ultrasounds are sound waves having frequencies greater than the human hearing limit.
Ultrasonic Flaw Detection uses these ultrasonic sound waves to detect flaws inside a solid metal or concrete object without causing any damage to its original structure.
In most conventional UT applications, ultrasonic pulses with center frequencies ranging from 0.1 to 15 MHz and border frequencies up to 50 MHz are transmitted through materials to discover internal defects or characterize materials. One typical example is ultrasonic thickness measurement, which measures the test object’s thickness by monitoring pipe corrosion.
Ultrasonic Flaw Detection is most typically done on steel and other metals and alloys, although it may also be used with poorer resolution on concrete, wood, and composites. Steel and aluminum construction, metallurgy, manufacturing, aviation, vehicles, and other forms of transportation are among the industries that use it.
Theory Behind Ultrasonic Flaw Detection
Ultrasonic Flaw Detection is based on the principle that sound waves produce mechanical vibrations in different media such as liquids, solids, or gas. The common modes of propagation of sound waves in solids are shear waves and longitudinal waves. This technique utilizes the flow of ultrasound in solid metal, concrete, or wood objects.
When any soundwave passes through a medium, it has a particular frequency, wavelength, and velocity. If the wave encounters the edge of a different medium (i.e. a flaw), it is immediately transmitted back to the same end where it can be detected. This is the fundamental theory behind Ultrasonic Flow Detection.
Principles Of Ultrasonic Flaw Detection
Ultrasonic Flaw Detection is broadly based on three principles, i.e. frequency, velocity, and wavelength.
1. Frequency (f)
Frequencies ranging between 500 kHz and 10 MHz per second are used in most ultrasonic fault detection applications. Sound energy flows effectively through most common solids and liquids at higher frequencies.
2. Wavelength (λ)
It is the distance between two successive points as a wave travels in a medium and forms a wave cycle. The minimal detection limit for the ultrasonic flaw detection technique is 1/2 wavelength.
3. Velocity (c)
The speed of a sound wave varies depending on the medium through which it travels and is influenced by the density and elasticity of the medium. Sound waves move at varying speeds. The specific velocity of ultrasounds is detected in ultrasonic flaw detection.
Reflection At The Edge Of The Flaw
When ultrasounds traveling through a material hit a barrier with another medium, a portion of the energy is reflected back, and a fraction of it will be transmitted. The reflection coefficient, or quantity of energy reflected, is proportional to the relative acoustic impedance of the two materials.
Acoustic impedance is a material attribute defined as density times sound speed in a specific material. The reflection coefficient as a percentage of incident energy pressure may be computed for any two materials using the formula.
Z2 – Z1
R = ——————
Z2 + Z1
In this formula,
R = reflection coefficient representing the percentage of energy reflected
Z1 = acoustic impedance of 1st material
Z2 = acoustic impedance of 2nd material
Procedure Of The Ultrasonic Flaw Detection
Ultrasonic flaw detection is essentially a comparison method. A trained operator performing ultrasonic flaw detection identifies specific echo patterns corresponding to the echo-response from good parts and from representative flaws using appropriate reference standards, knowledge of sound wave propagation, and generally accepted test procedures. To determine the condition of a test piece, the echo pattern from it can be compared to the patterns from these calibration standards.
Ultrasonic Flaw Detection Using Straight Beam
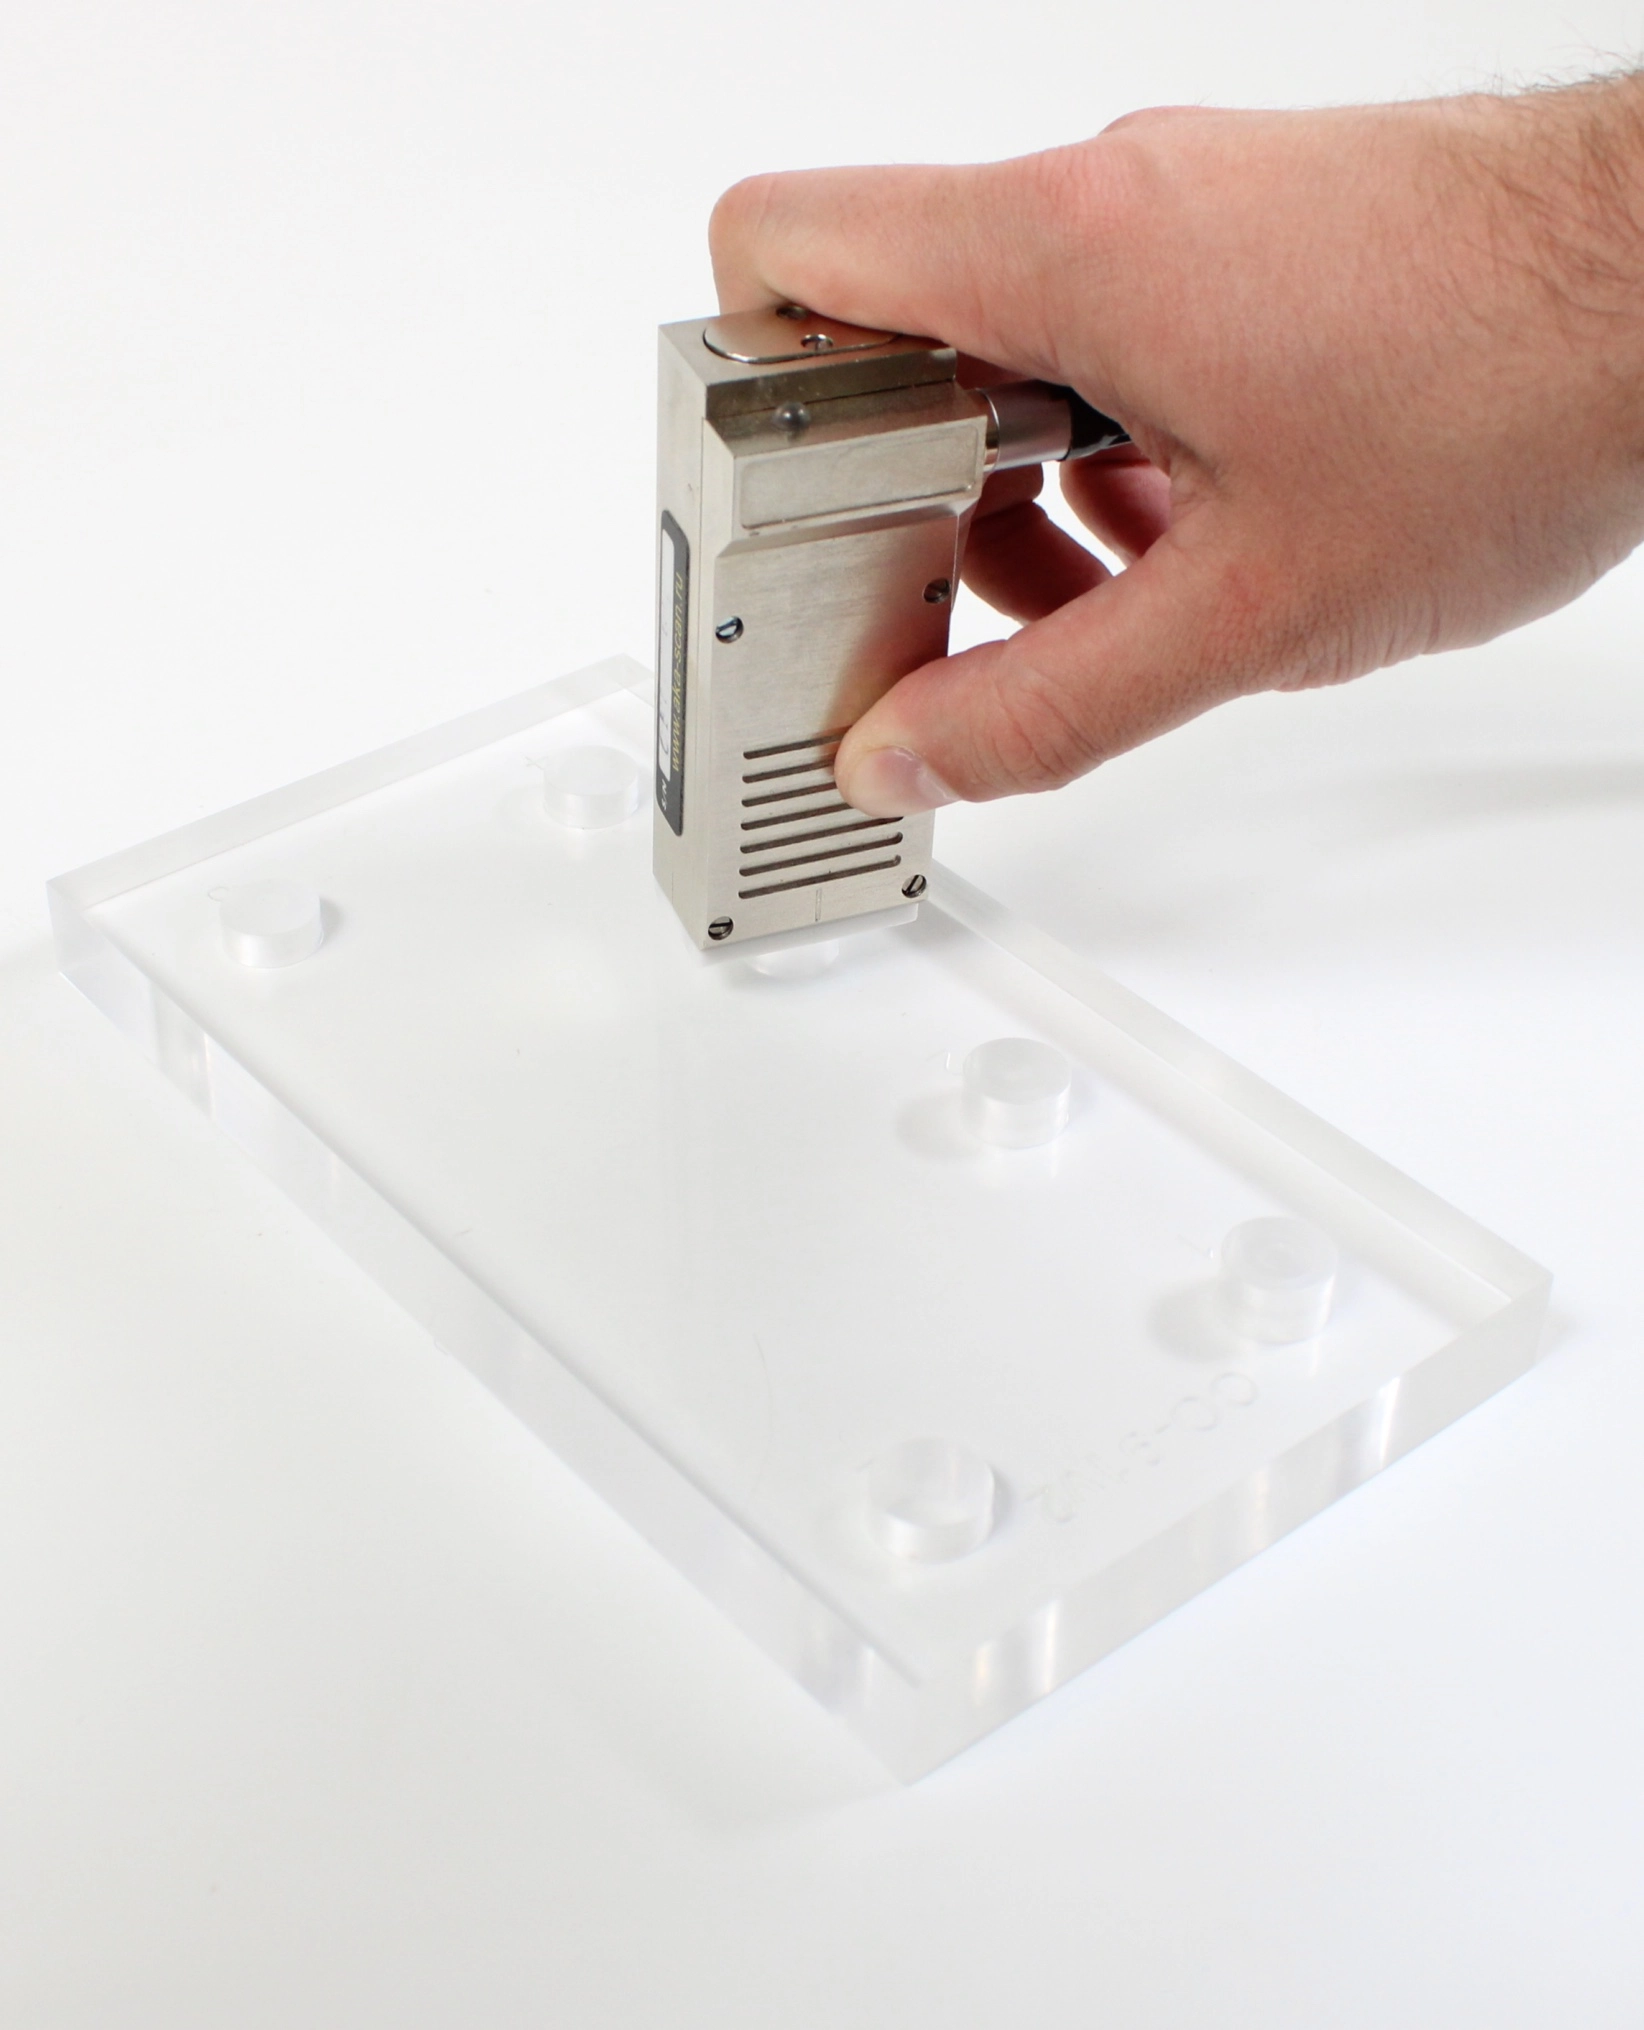
Ultrasonic flaw detection using straight beam testing with contact, delay line, dual element, or immersion transducers is commonly used to detect cracks or delaminations parallel to the test piece’s surface, as well as voids and porosity. It works on the basic premise that sound energy propagating through a medium will continue to propagate until it either disperses or reflects off a boundary with another material, such as the air surrounding a distant wall or found inside a crack.
Ultrasonic Flaw Detection Using Transmission Mode
In some cases, the ultrasonic flaw detection is completed using transmission mode. In this method of ultrasonic flaw detection, sound energy moves between the two transducers located on the sides opposite of the test piece.
If the sound path contains a large flaw, the beam will be obstructed, and the sound pulse will not reach the receiver.
Angle Beam Testing For Ultrasonic Flaw Detection
While using Angle Beam Testing for ultrasonic flaw detection, cracks or other discontinuities perpendicular to the surface of a test piece to that surface can not be detected using straight beam test techniques.
Such flaws can appear in welds, structural metal parts, and a variety of other critical components.
Ultrasonic Transducers
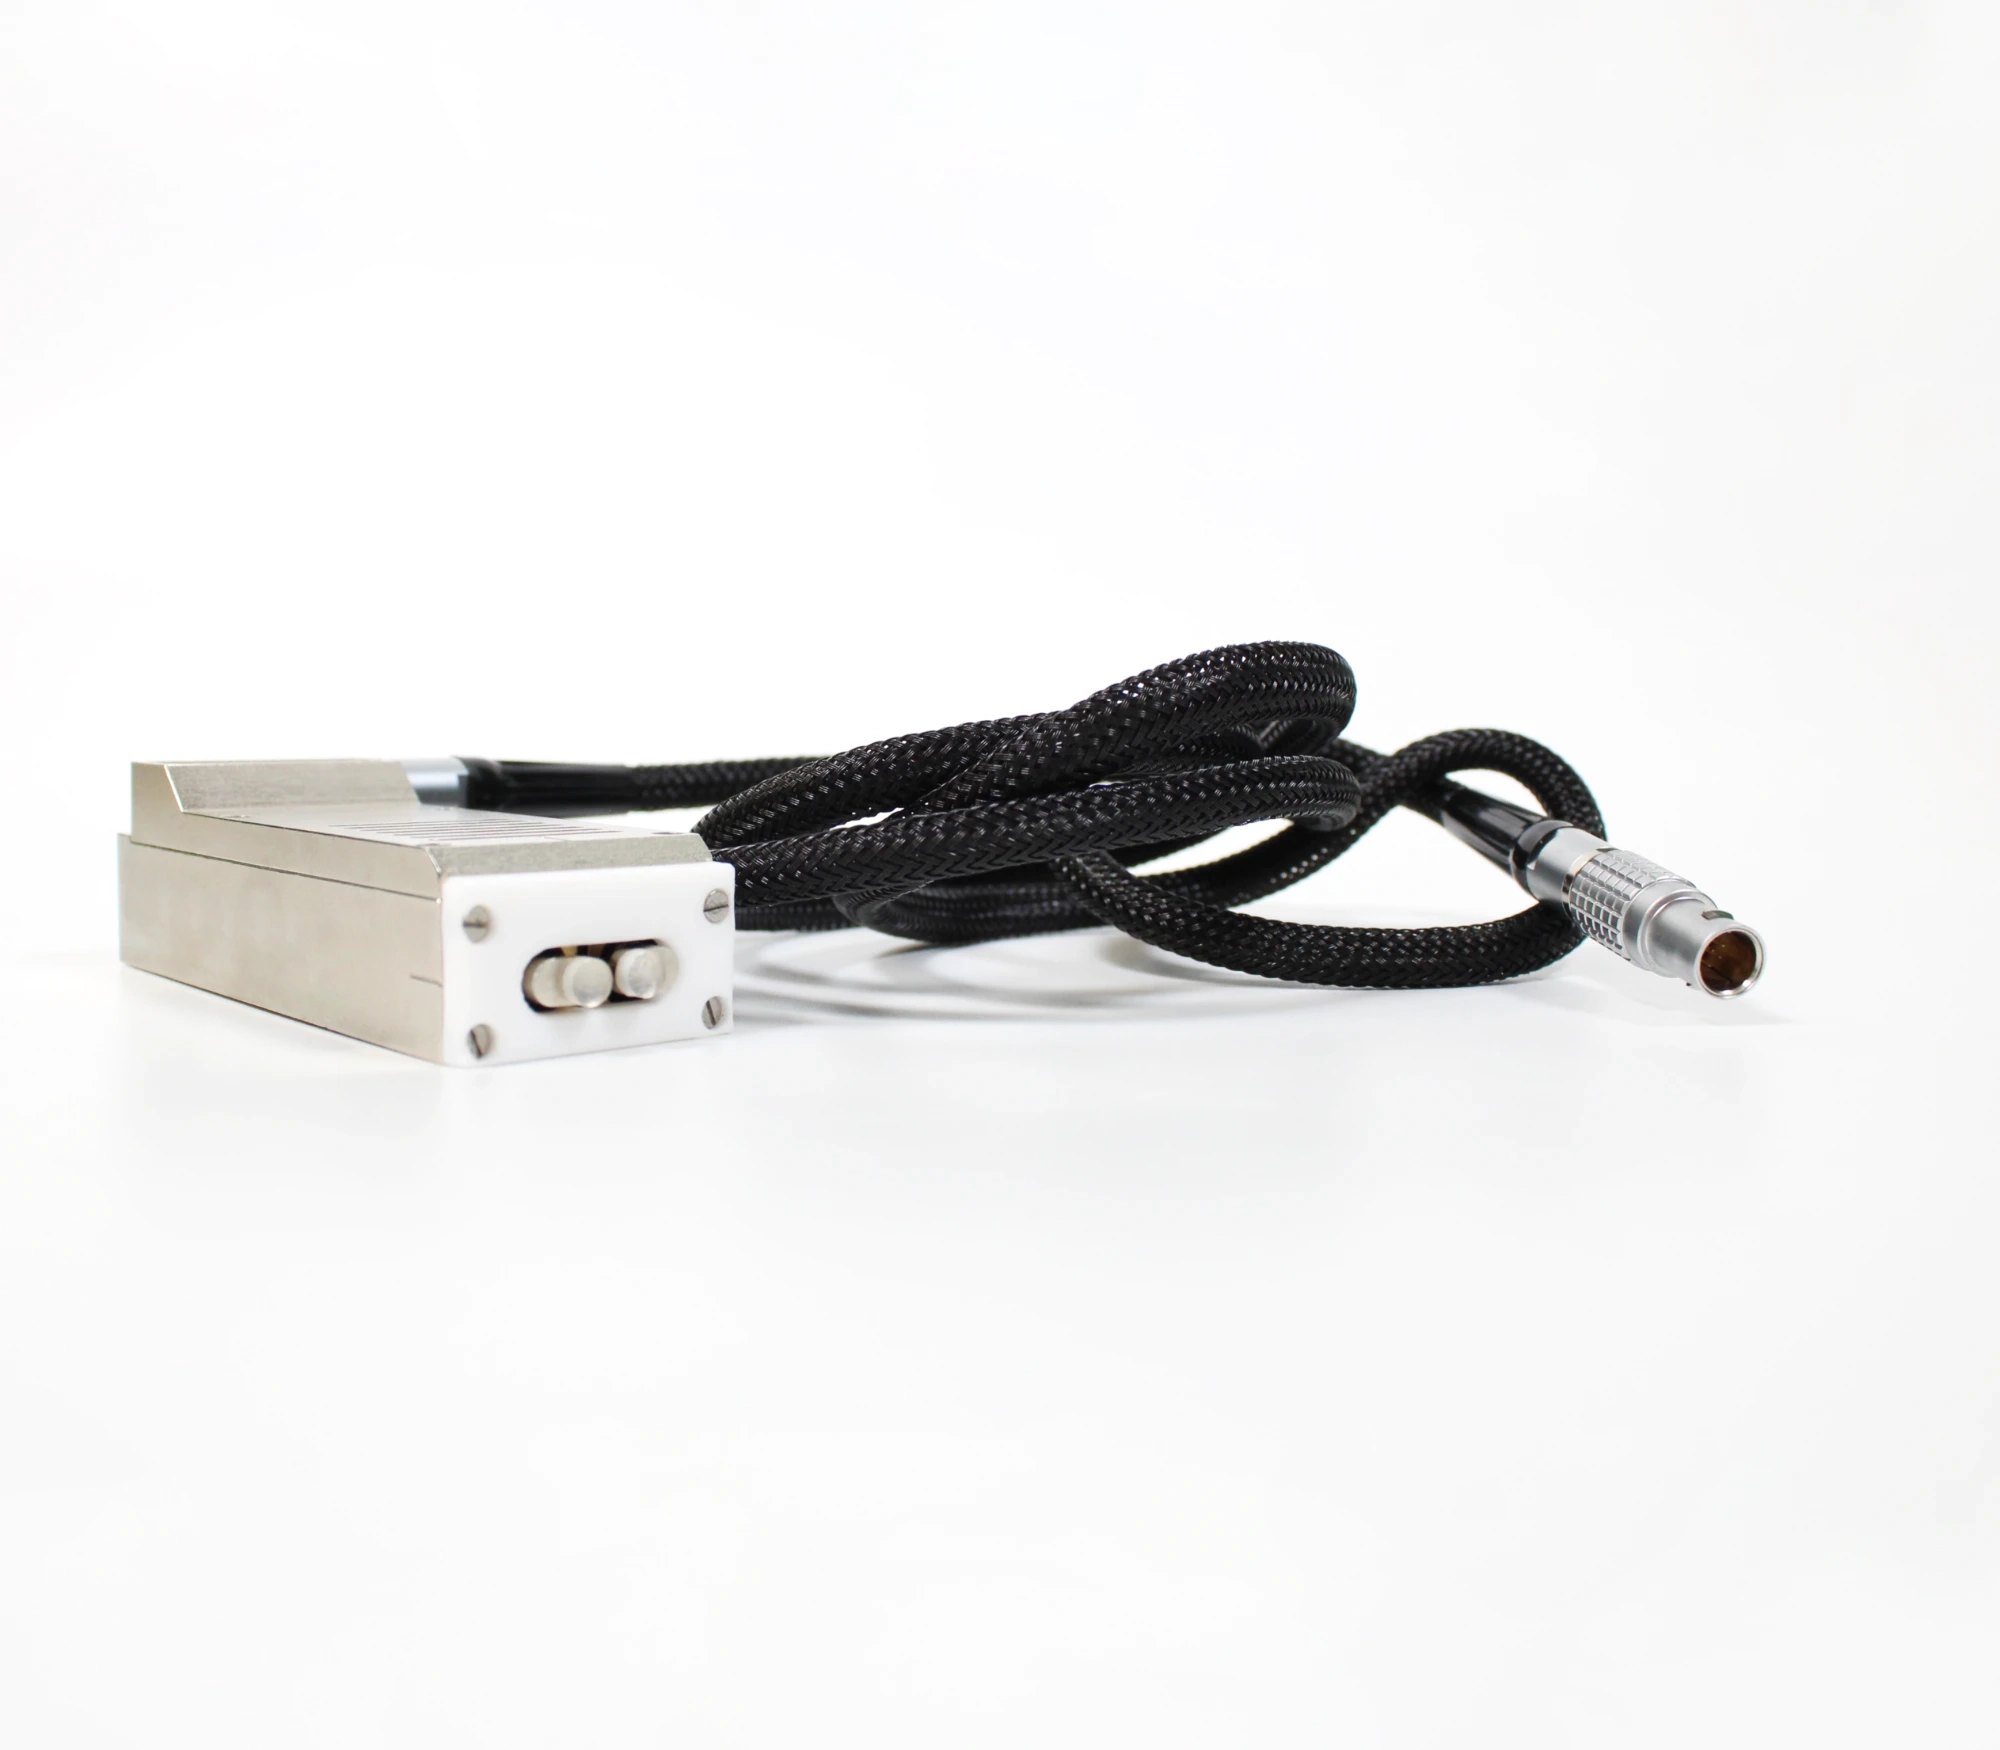
A transducer is a device that can change the state of energy from one direction to another. Electrical energy may be converted into sound energy using ultrasonic transducers and vice versa.
Standard transducers for ultrasonic flaw detection use a dynamic element consisting of polymers, composites, or piezoelectric ceramics. When a high-voltage electrical pulse is delivered to this element, it vibrates over a certain frequency range and creates sound waves. An electrical pulse is produced when an incoming sound wave vibrates this element.
Five types of ultrasonic transducers are often used in fault detecting operations.
- Contact transducers
- Immersion transducers
- Delay line transducers
- Angle beam transducers
- Dual element transducers
Modern Ultrasonic Flaw Detectors
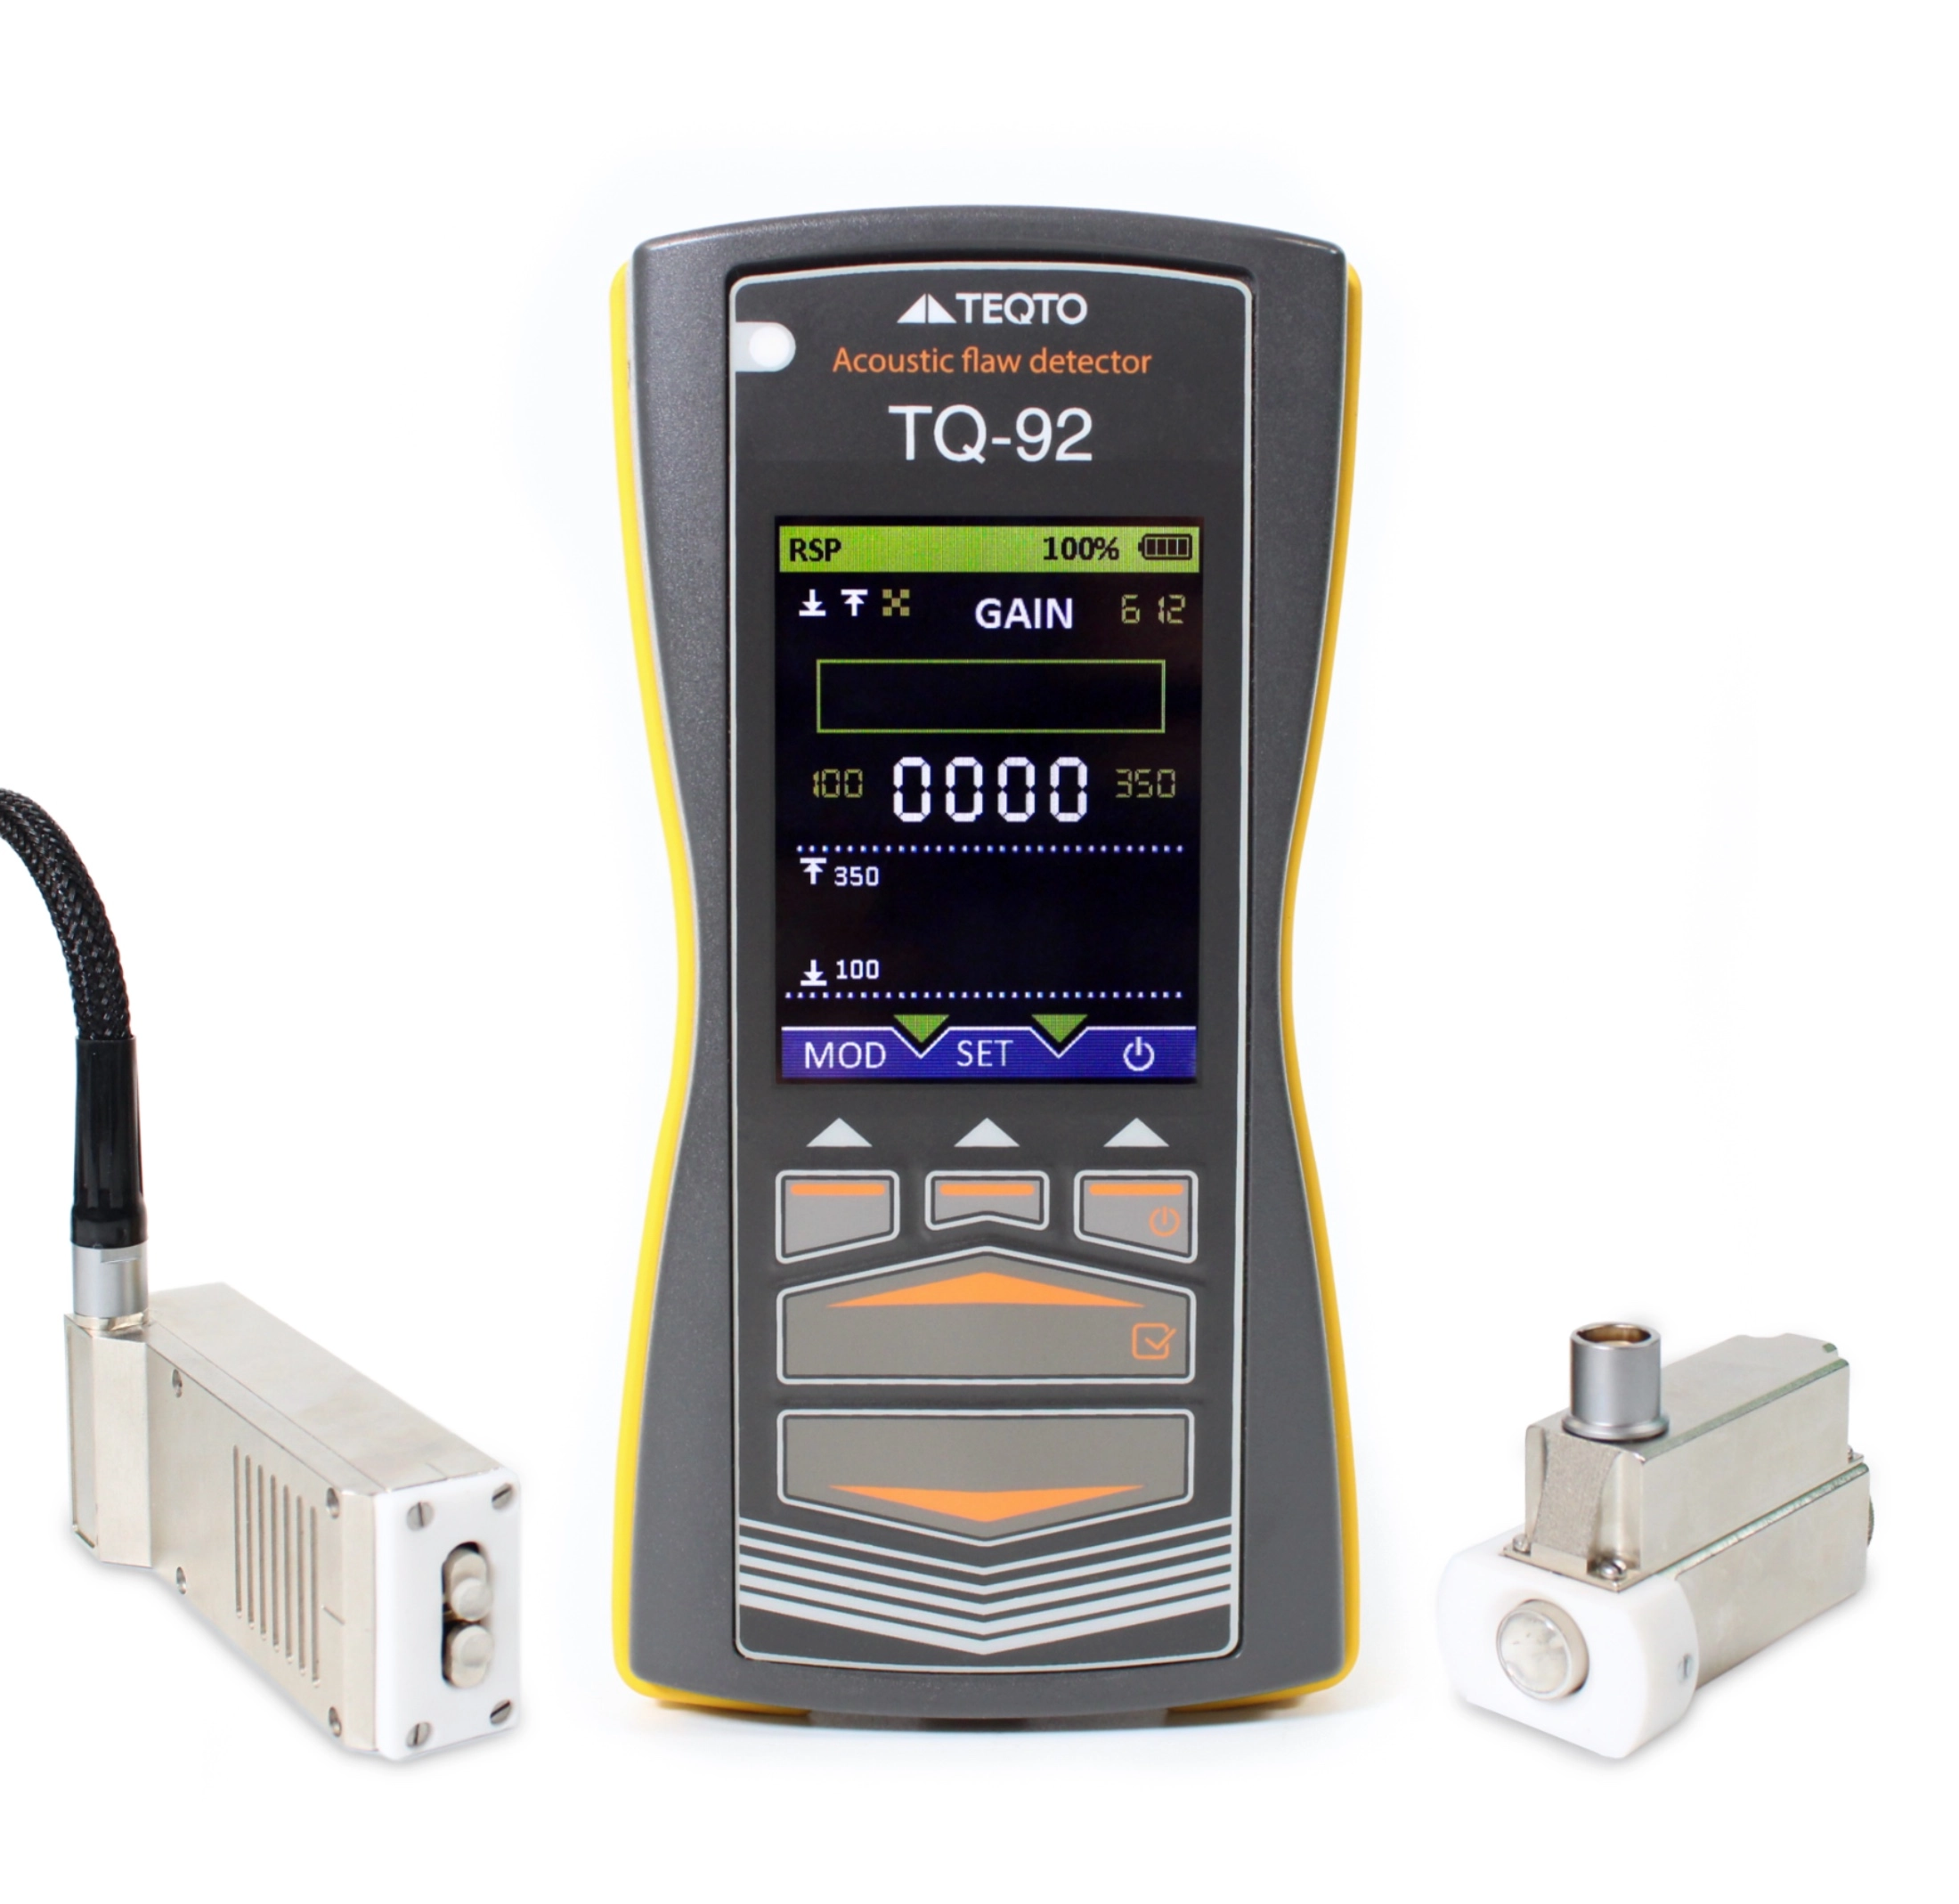
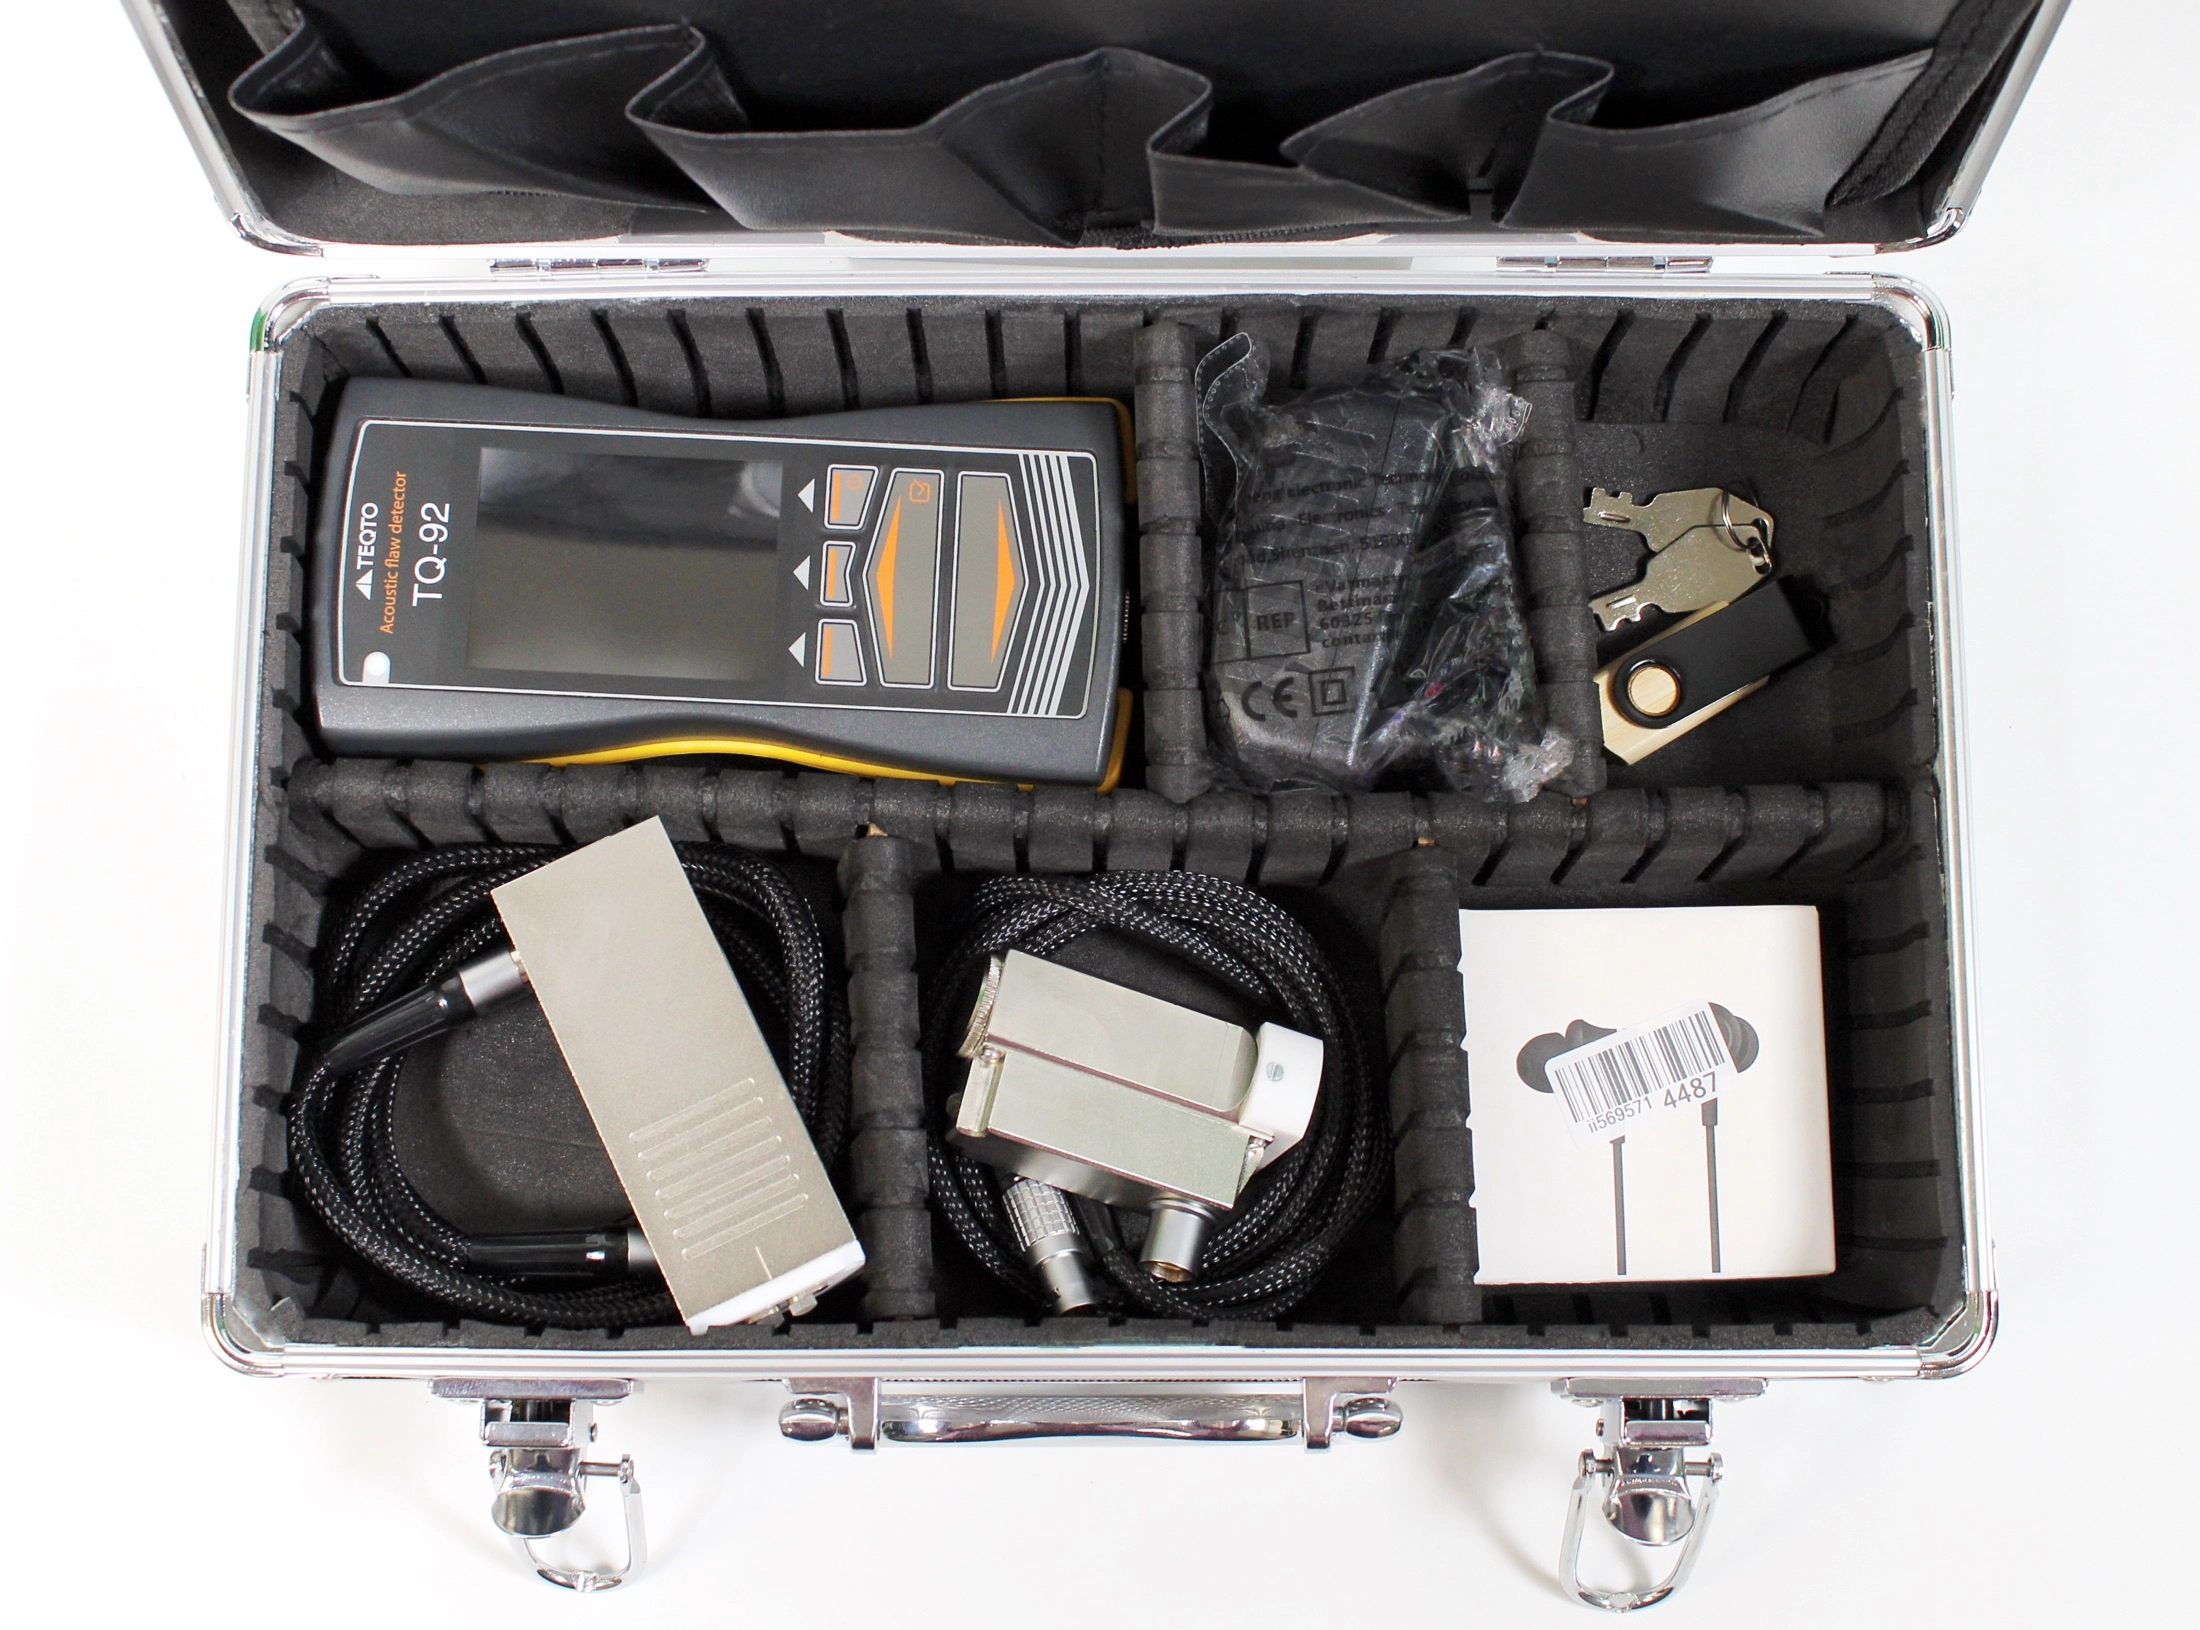
The modern and advanced ultrasonic flaw detectors are microprocessor-based small and portable equipment. They’re perfect for factory and industrial usage, and they provide an ultrasound wave that an experienced operator may readily understand when detecting and classifying faults in test parts. A wave screen, an ultrasound pulse/receiver, a data recording module, and hardware and software for signal collection and analysis are all included in the range. Pulse amplitude, damping, and shape may all be modified to improve transducer performance. Similarly, receiver gain and bandwidth may be adjusted to improve signal-to-noise ratios.
