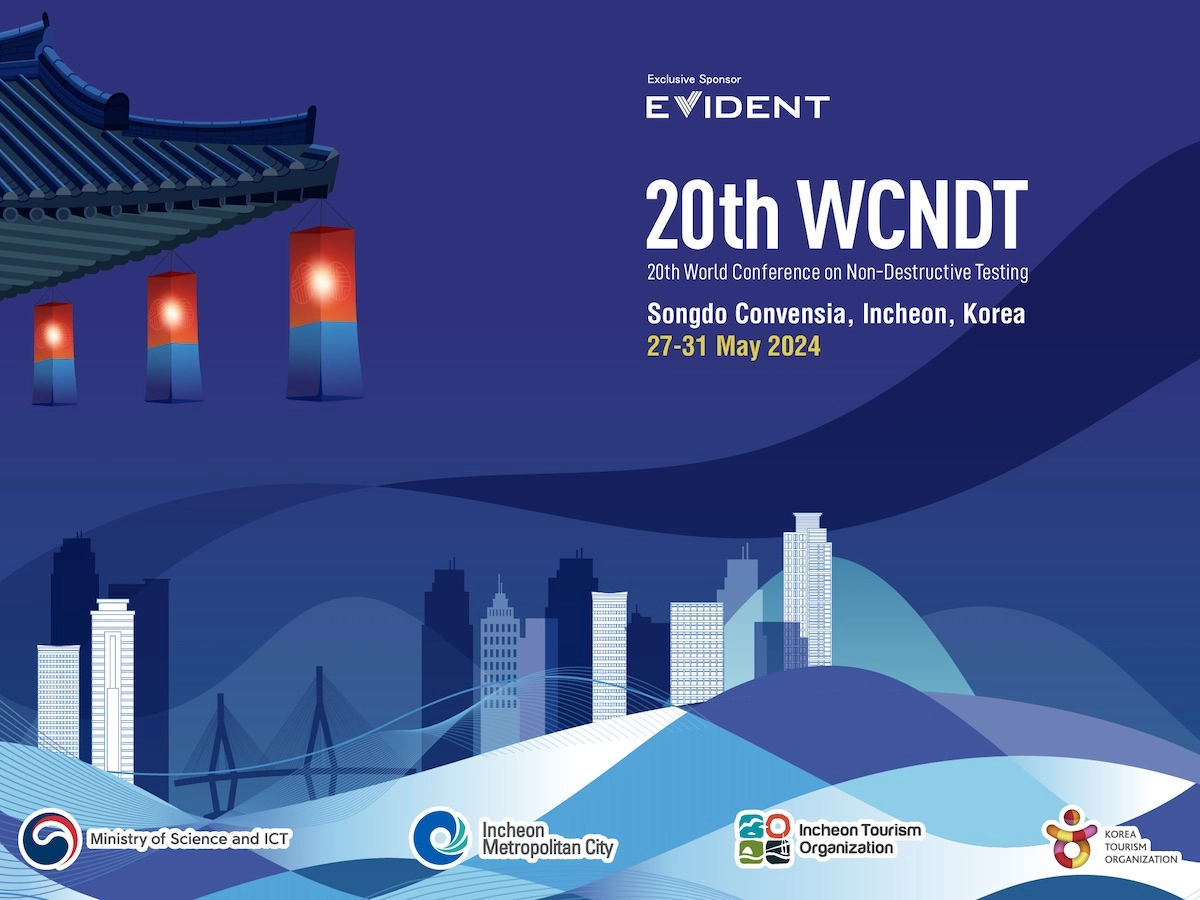
TEQTO participated in 20th World Conference on Non-Destructive Testing in Incheon, South Korea on 27-31 May 2024
Here is the welcome message of the organisers:
It is our great honor to invite you to attend the 20th World Conference on Non-Destructive Testing (20th WCNDT) hosted by the Korean Society for Nondestructive Testing (KSNT) to be held in Incheon, South Korea in May 2024 under the auspice of ICNDT. We have been waiting for such a long time for this prestigious world conference to take place in Korea, and are now ready to provide a revitalized conference and exhibition. The Organizing Committee will offer a dynamic technical program that will be highly informative to every participant.
The conference will be the place for a continuous interchange of ideas and integration of professional colleagues from all around the world with an interest in this field. We are so confident that the 20th WCNDT will turn out to be the most successful platform for networking and inspiring new technical ideas with the support from all of you. The venue, Songdo Convensia, Incheon, is a center of trade and transportation built upon the advanced infrastructure of Incheon International Airport (IATA: ICN).
Within an hour’s distance from Seoul by public transportation, participants will be given the opportunity to experience a mixture of diverse cultures and world-class urban life. We are very much looking forward to meeting you all at Songdo Convensia in May 2024.
