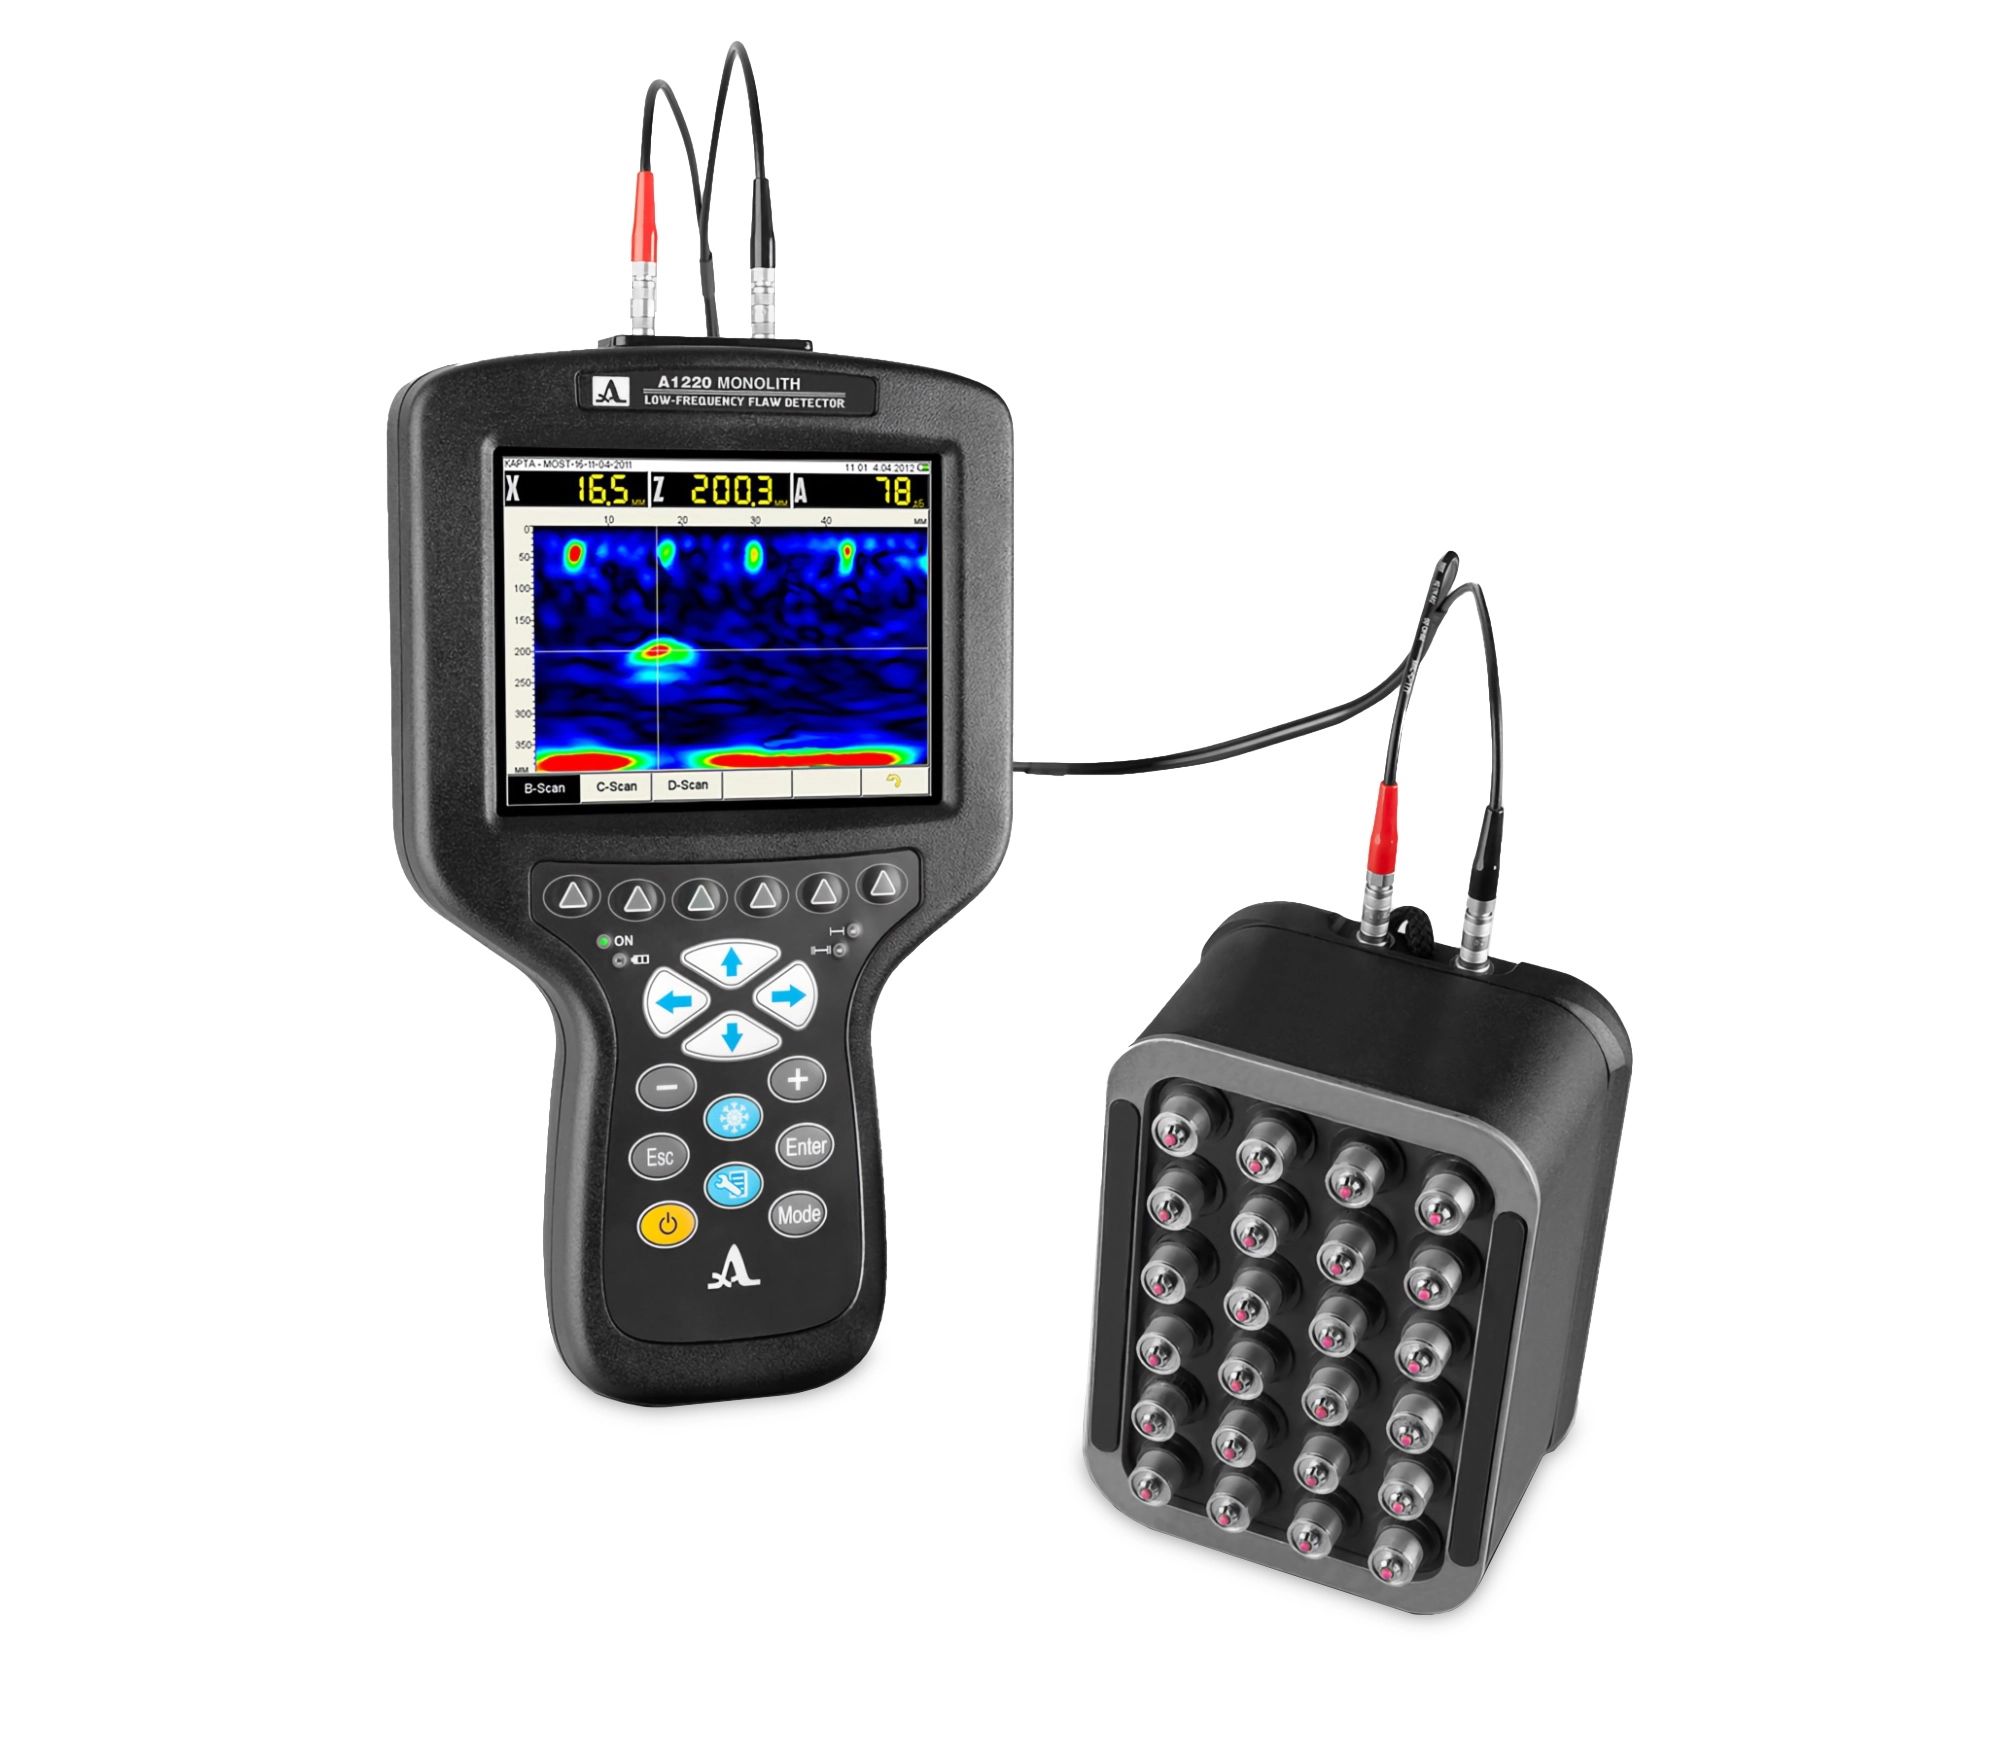
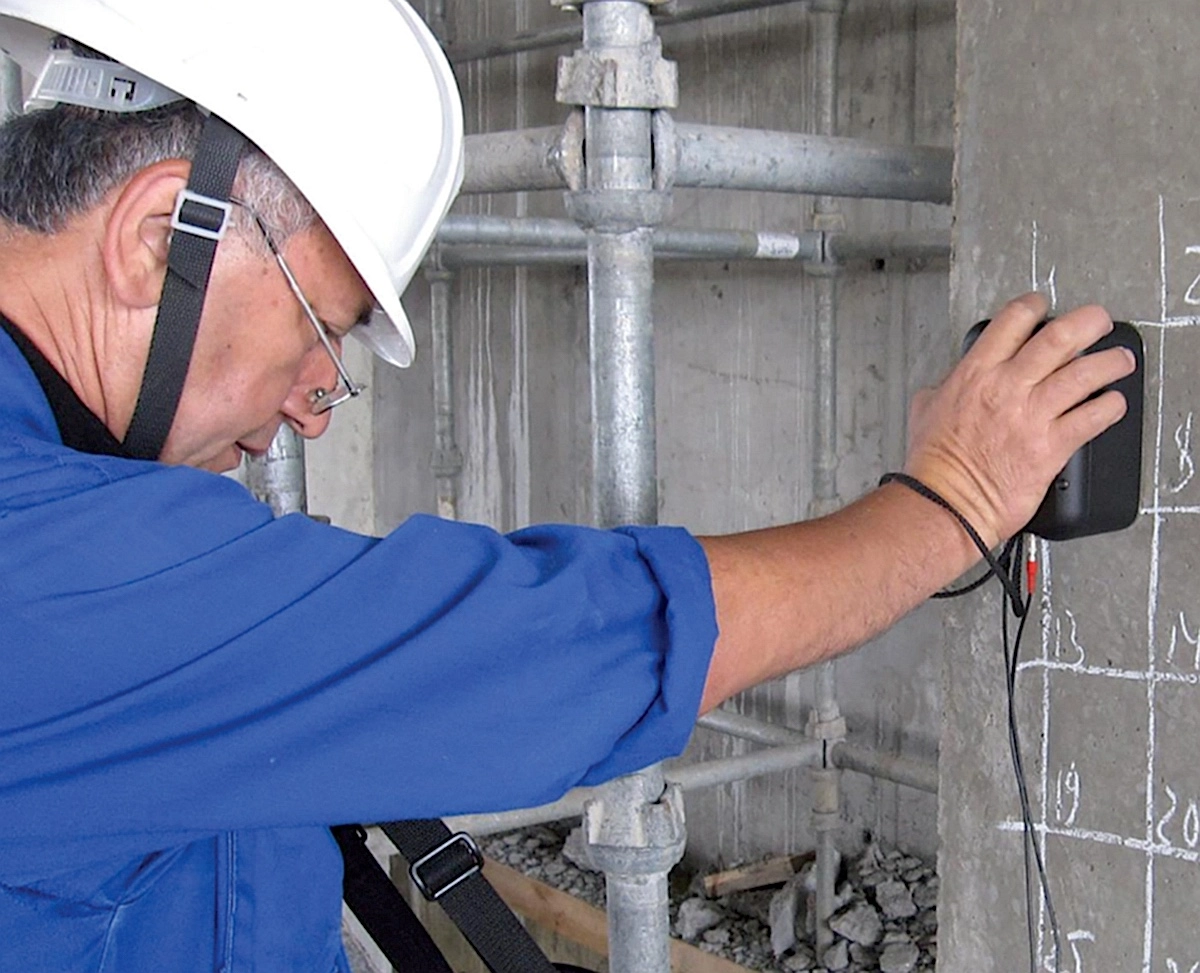
A compact handheld ultrasonic pulse velocity and pulse echo tester is designed for ultrasonic thickness measurements and flaw detection of concrete and reinforced concrete constructions and rocks.
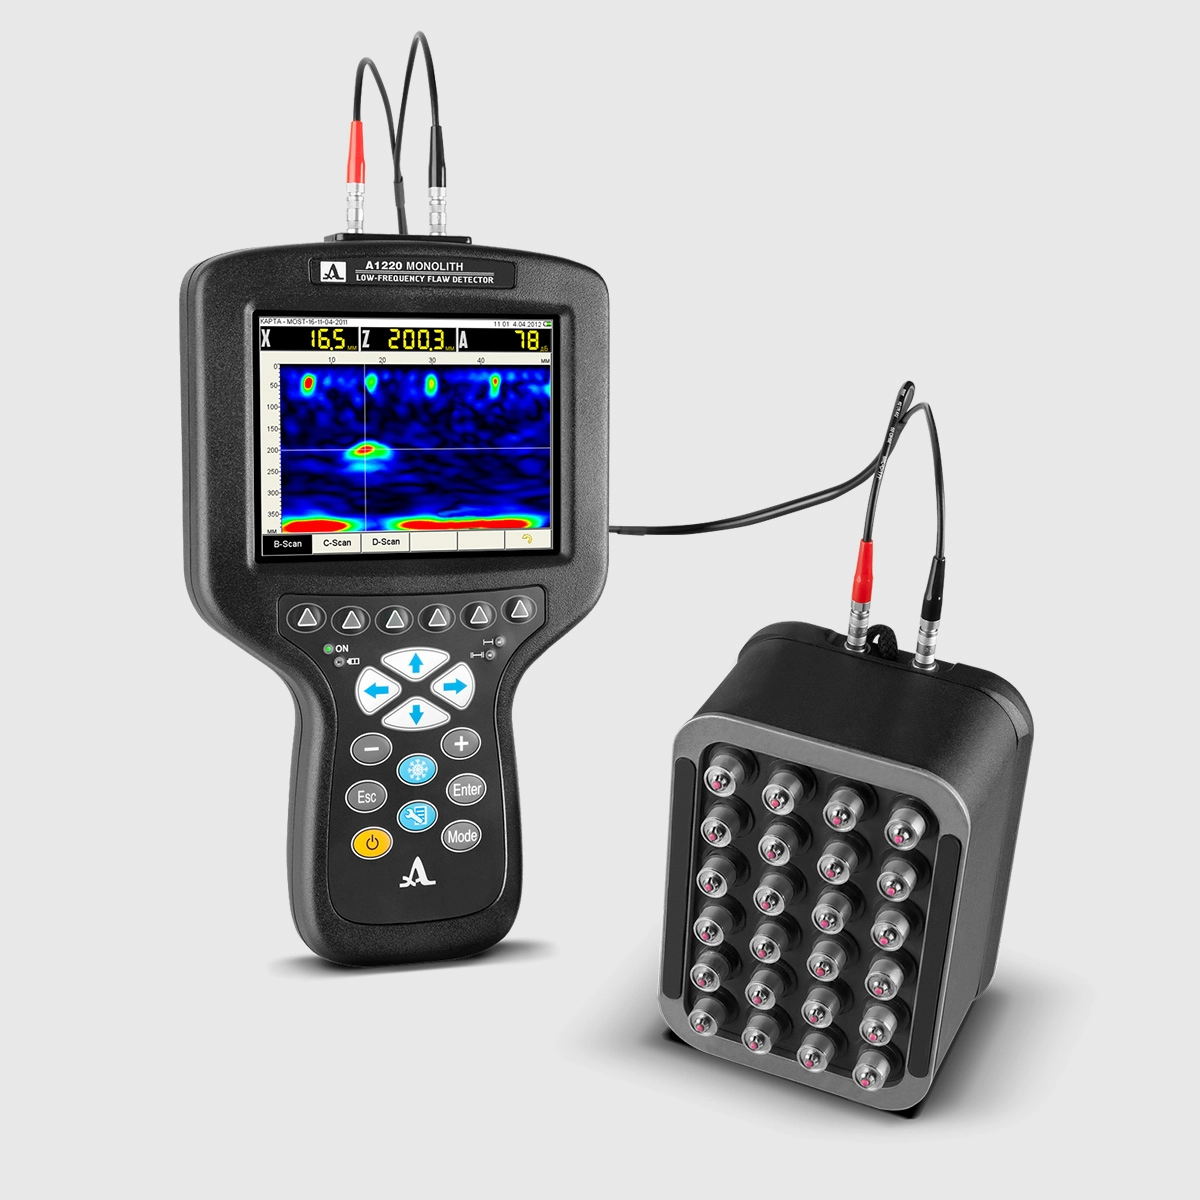
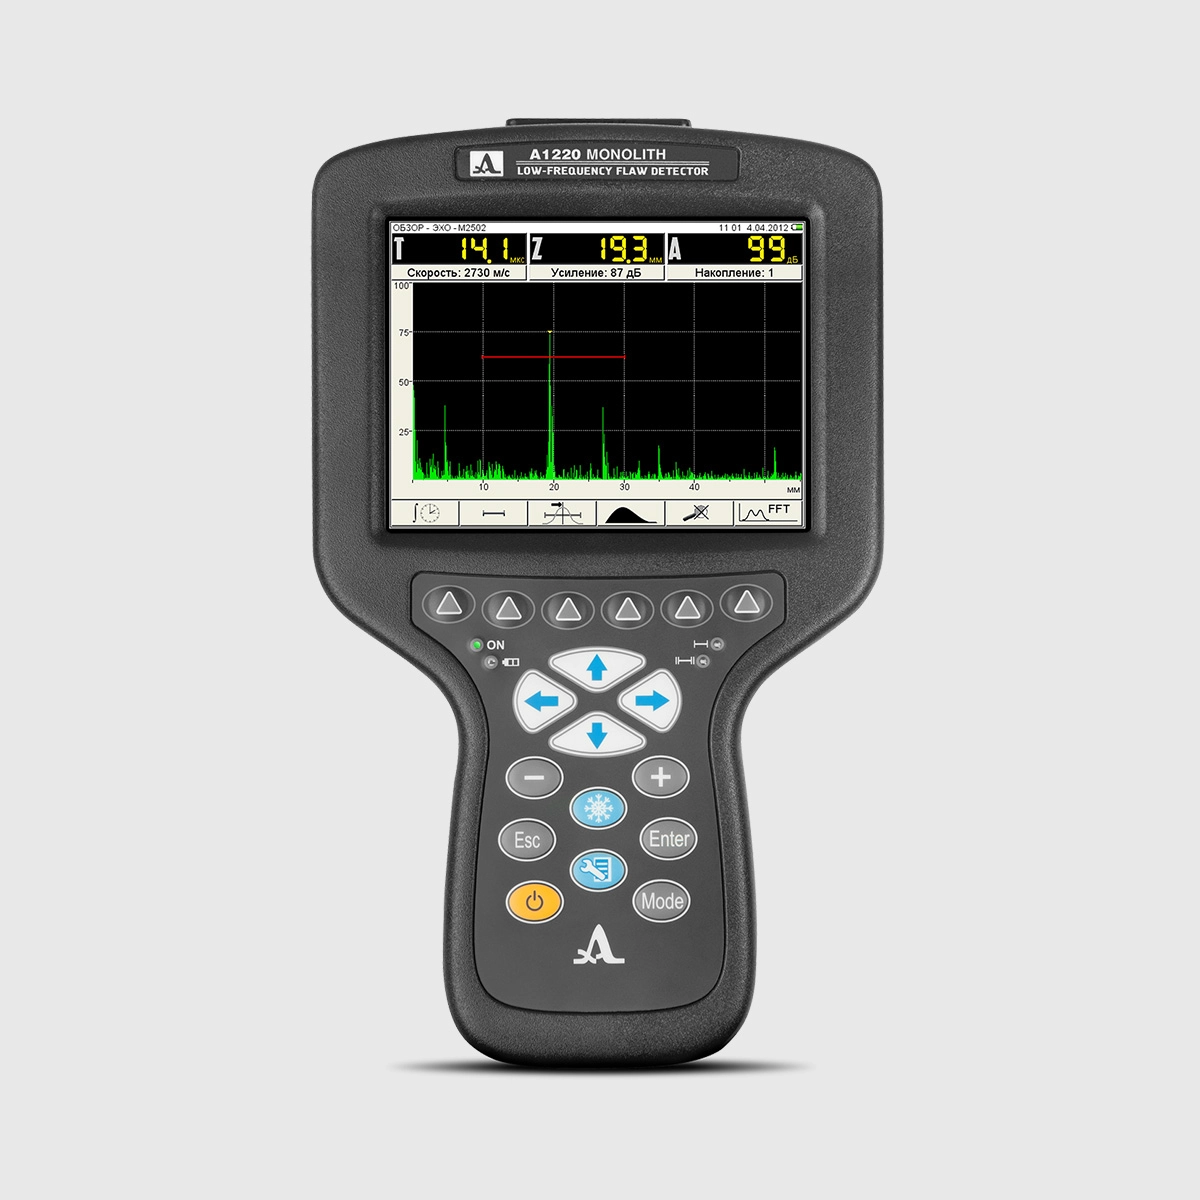
The flaw detector represents an compact electronic unit is equipped with a large high-contrast TFT display and a keyboard.
Despite multifunctionality the instrument is easу to use due to its intuitive interface and icons menu providing quick access to main settings and functions of the instrument.
A compact handheld ultrasonic pulse velocity and pulse echo tester is designed for ultrasonic thickness measurements and flaw detection of concrete and reinforced concrete constructions and rocks.
The flaw detector represents an compact electronic unit is equipped with a large high-contrast TFT display and a keyboard.
Despite multifunctionality the instrument is easy to use due to its intuitive interface and icons menu providing quick access to main settings and functions of the instrument.
Ergonomic design of the flaw detector and its light weight (as little as 800 grams), as well as capability of fastening the electronic unit in the specialized pad, provide convenient operation of the instrument in hard-to-reach areas and allow its working at height.
All inspection results are recorded into the instrument’s memory and can be transferred via the USB-port to the external PC for further processing, registration and archivation.
Using one low frequency dry point contact antenna array M2502 0.05A0R100Х60PS with shear wave and nominal frequency 50 kHz allows carrying out thickness measurement of the concrete objects up to 3 000 mm and reinforced concrete objects up to 600 mm.
The instrument allows to operator search for internal foreign inclusions, cavities, voids and cracks of the products and constructions made of reinforced concrete, stone and similar materials at one-sided access as well as search for embedded flaws of bronze castings.
It is possible to testing of the internal structure of the coarse-grained materials.
The results of inspection are slice and projection images by grid-scan function (B-Scan, C-Scan, D-Scan, thickness-profile) – visualization software INTROVIEW.
|
Maximal data acquisition length in mm (shear wave) |
2150 mm |
|---|---|
|
Maximal data acquisition length in μs |
1600 μs |
|
Maximal penetration depth (concrete grade 400) |
600 mm |
|
Minimal dimensions of cylindrical material flaw |
30 mm |
|
Number of A-scans, that can be saved in MAP mode |
200 |
|
Maximal inspection square (MAP mode) |
2 m2 |
|
Material velocity range |
1 000 – 9 999 m/s |
|
Transmitter pulse form |
Meander, 0.5÷5.0 periods |
|
Pulse repetition rate |
1 – 50 Hz |
|
Receiver bandwidth |
10 – 300 kHz |
|
Gain setup range |
from 0 to 100 dB, step 1 dB |
|
Number of the programmable points of DAC function |
32 |
|
Dynamic range of DAC function |
30 dB |
|
Power supply |
Built-in battery |
|
Operation time |
14 h |
|
Battery charging time |
3 h |
|
Operating temperature range |
from –20 to +45 ºC |
|
Display type |
TFT (640 х 480) |
|
Electronic unit dimesions |
260 х 156 х 43 mm |
|
Electronic unit weight |
800 g |
|
Dimensions of M2502 antenna array |
139 х 105 х 89 mm |
|
Weight of M2502 antenna array |
1,1 kg |
• Monolith 3D – ultrasonic flaw detector
• Antenna array М2502 0.05A0R100X60PS
• Double LEMO 00 – LEMO 00 cable 1,2 m
• USB A – Micro B cable
• Net adaptor with cable 220V-15V
• Carrying map-case
• Soft cover
• Case
• Visualization software INTROVIEW (3D tomographic imaging by grid-scan function, advanced visualization and analysis functionality
Slice and projection images by grid-scan function (B-Scan, C-Scan, D-Scan, thickness-profile)
