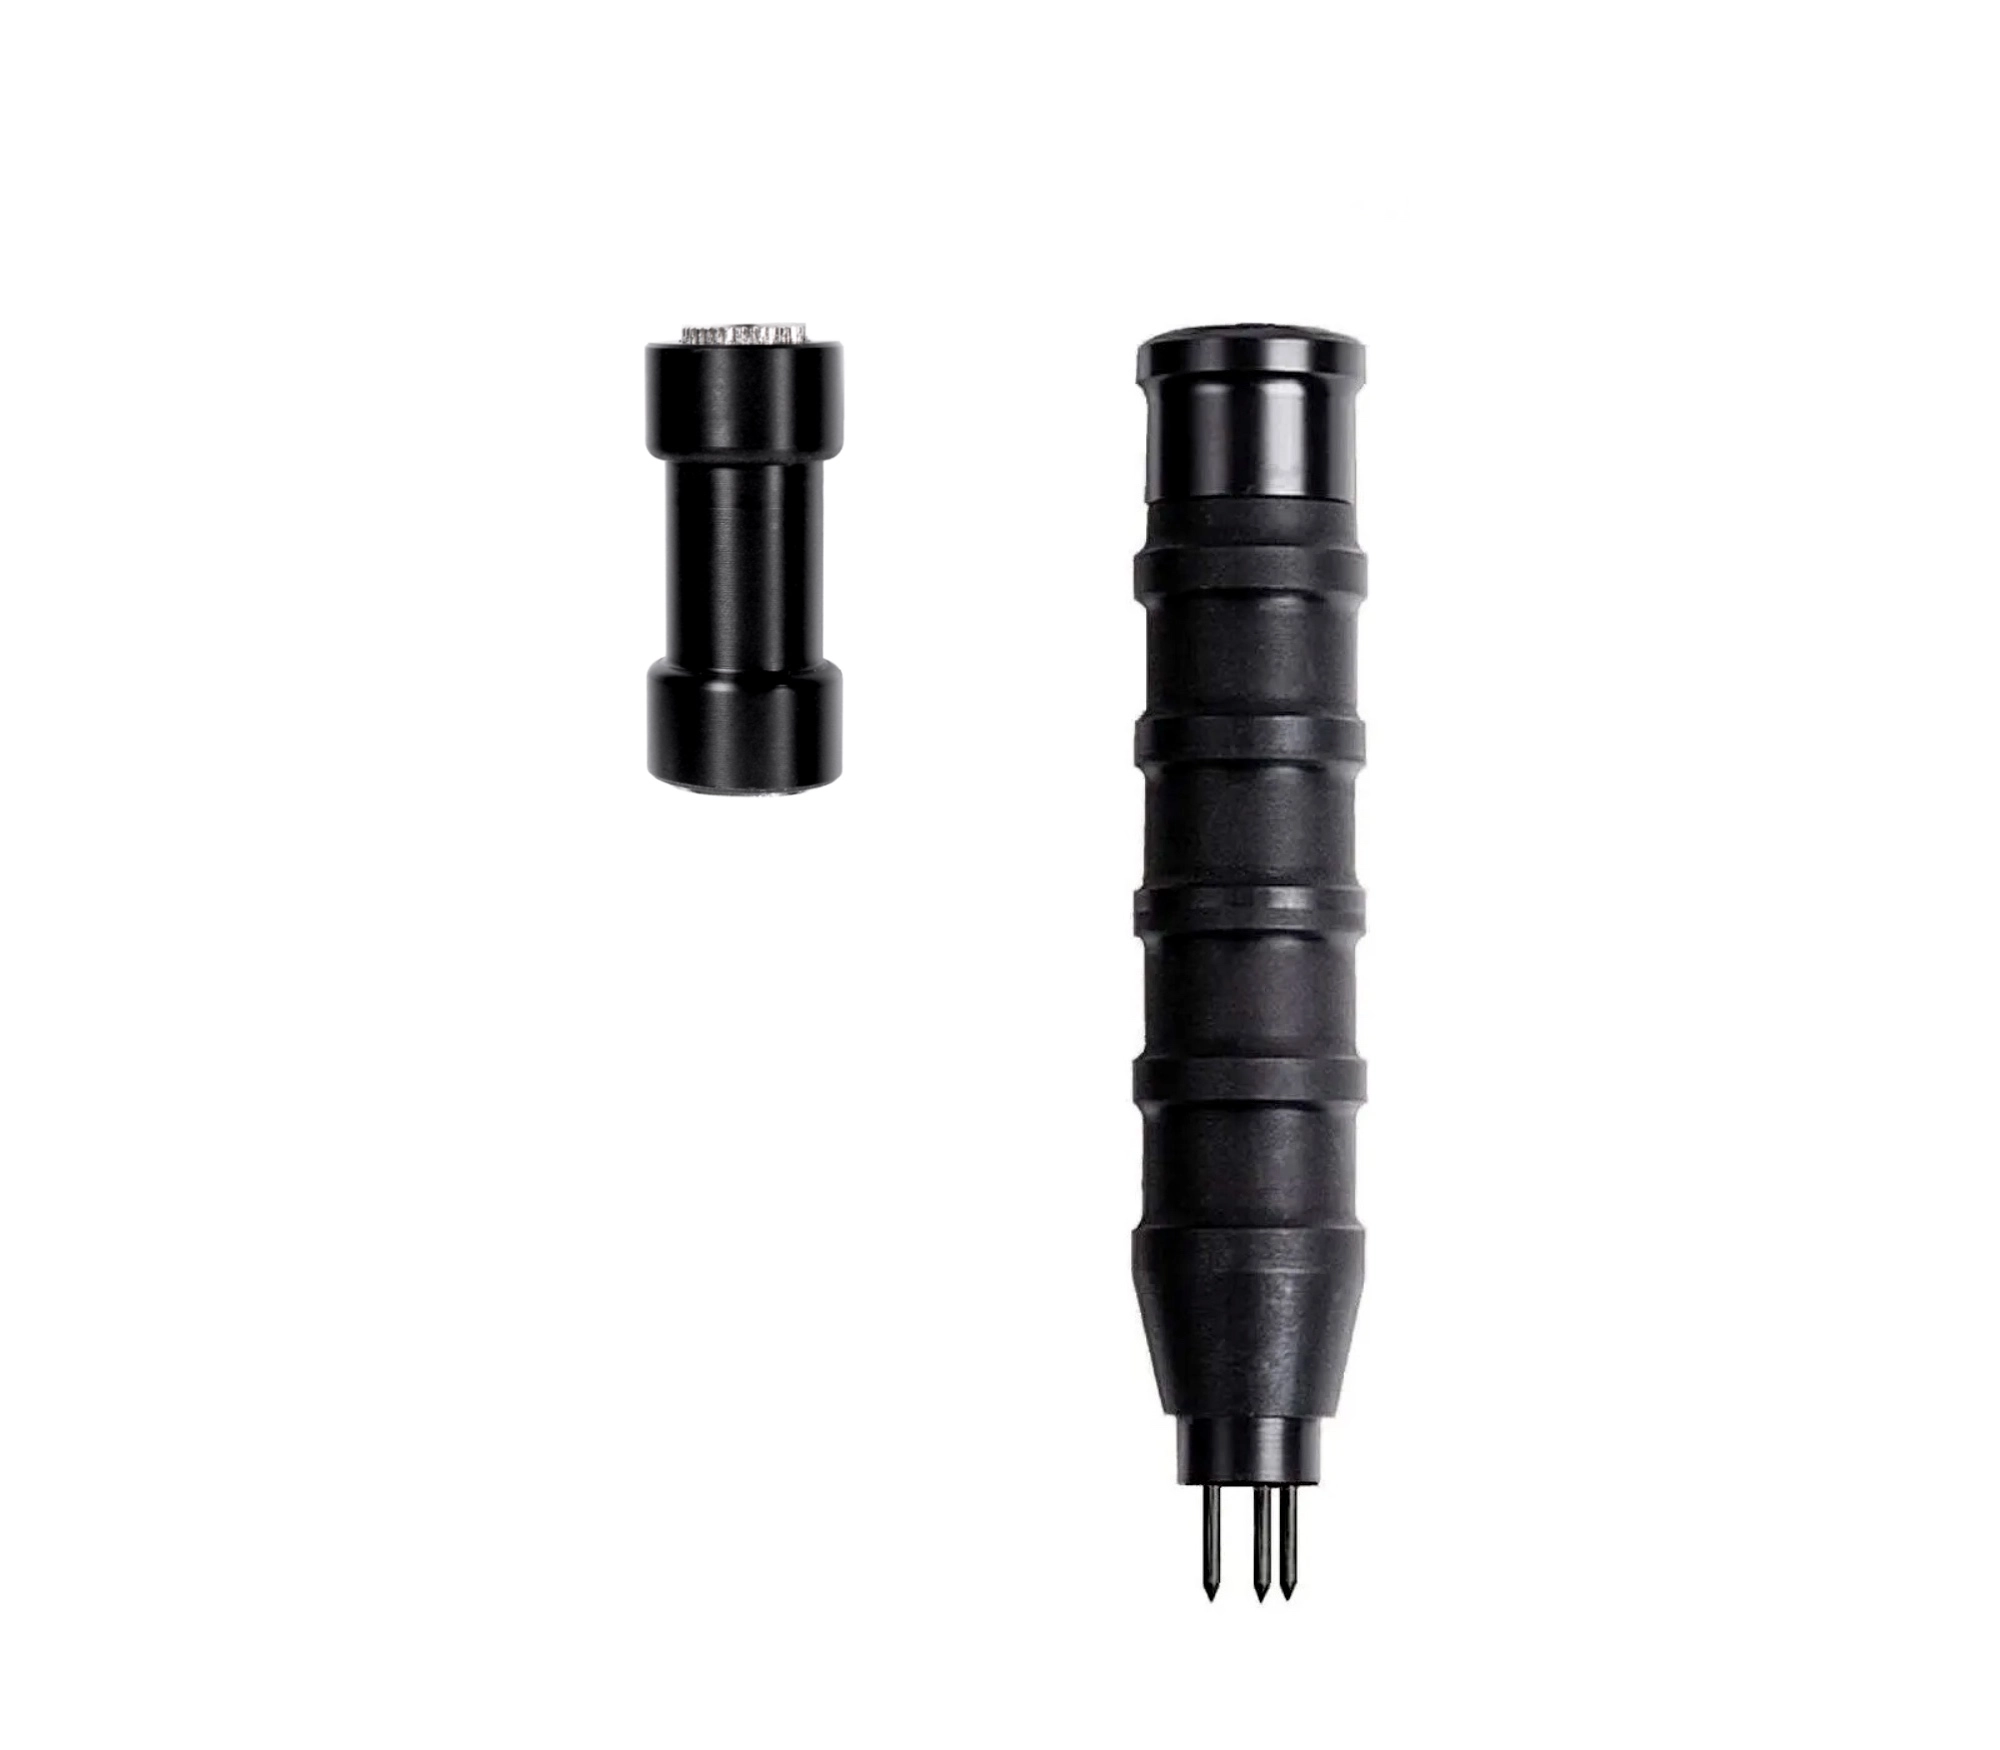
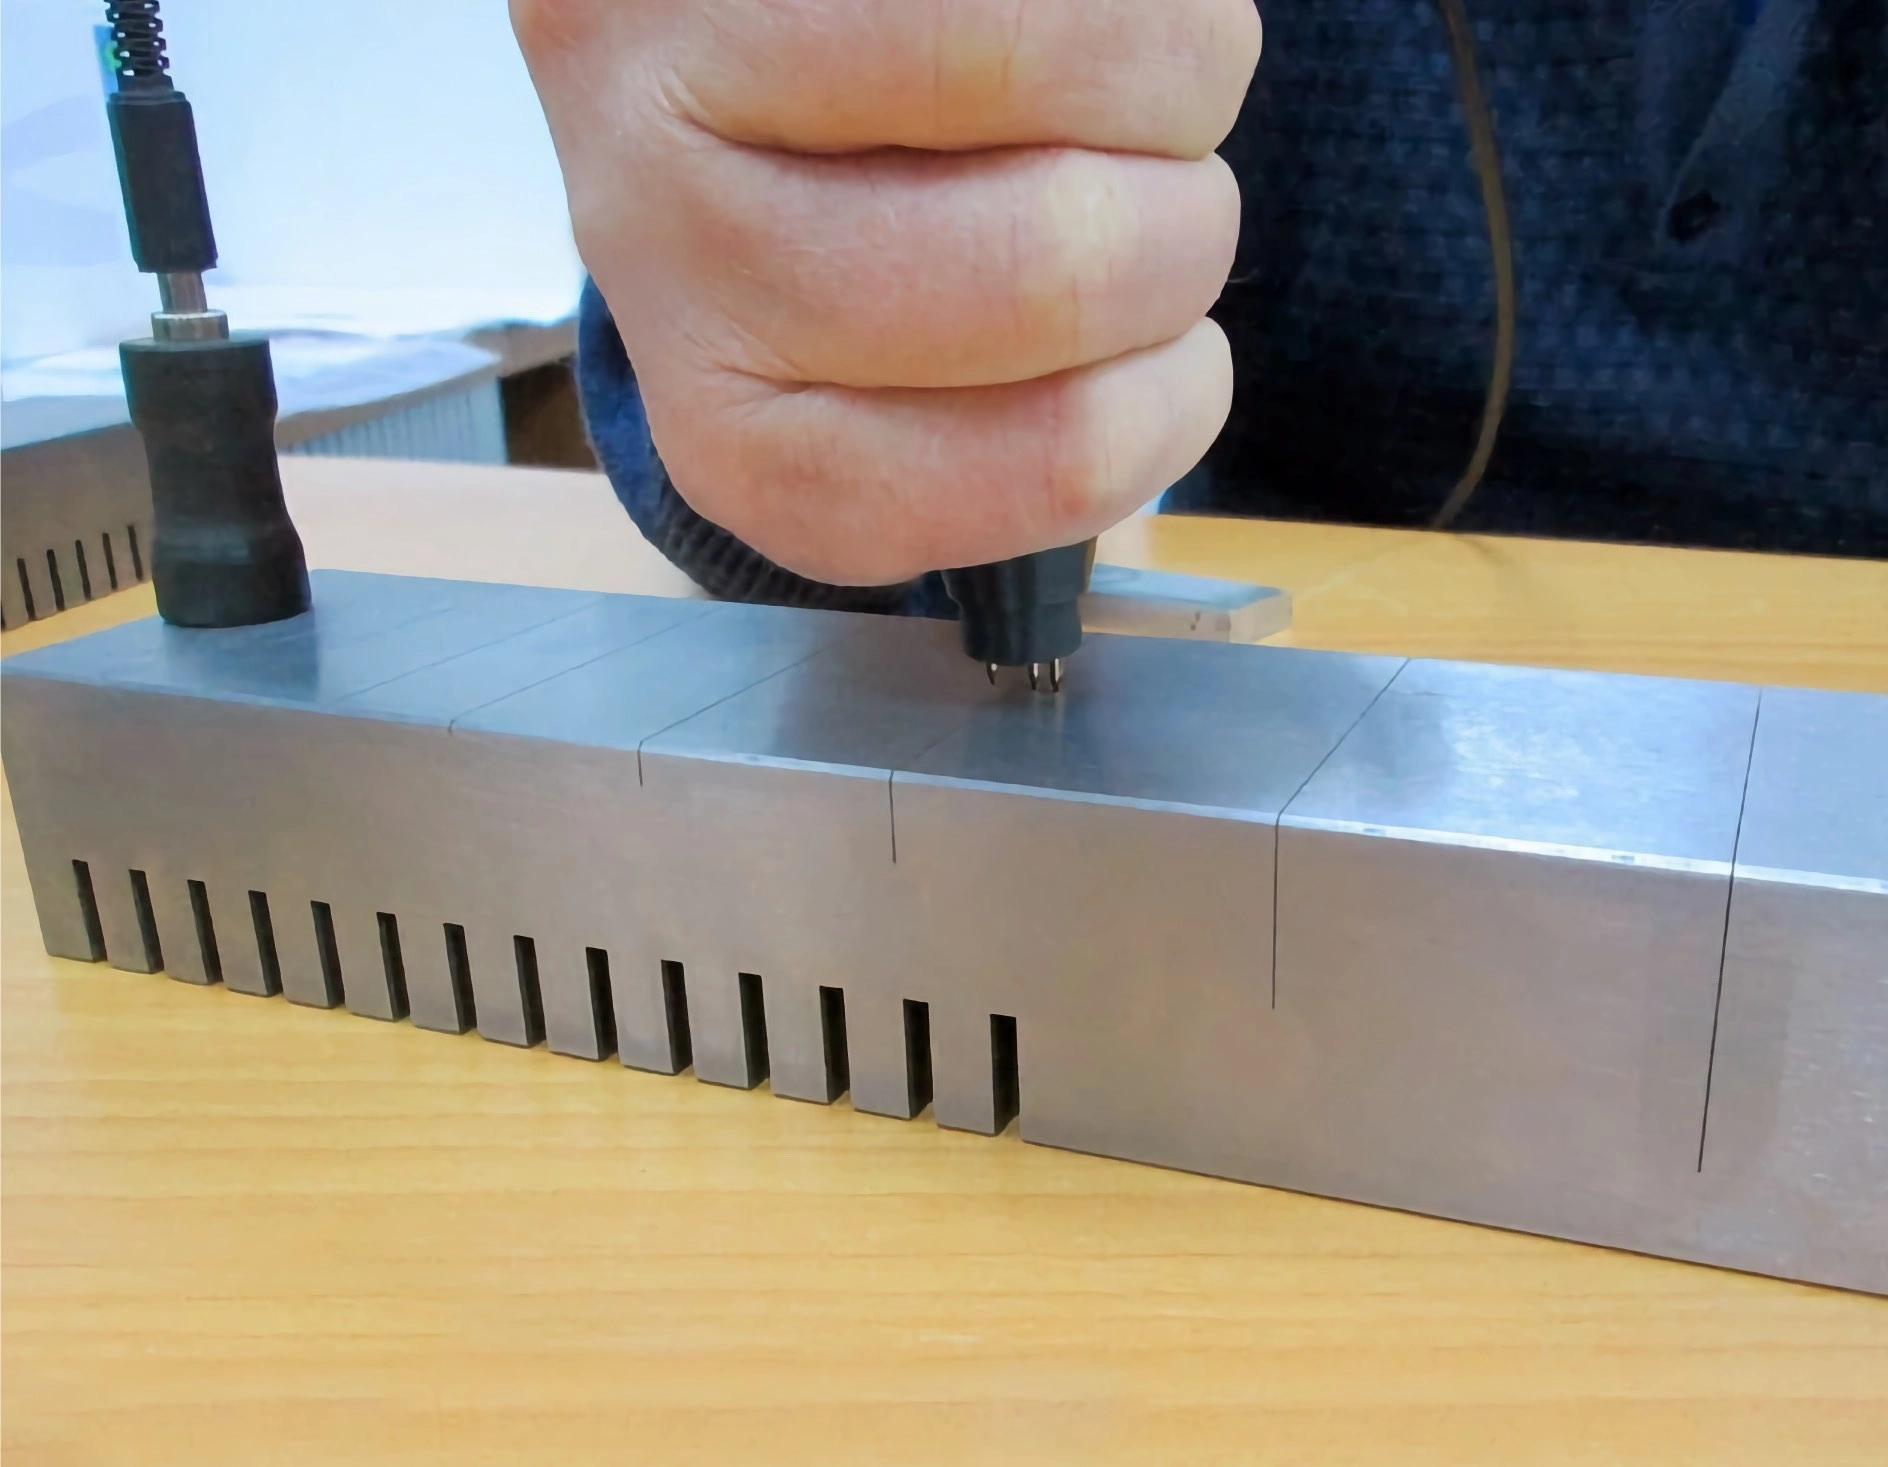
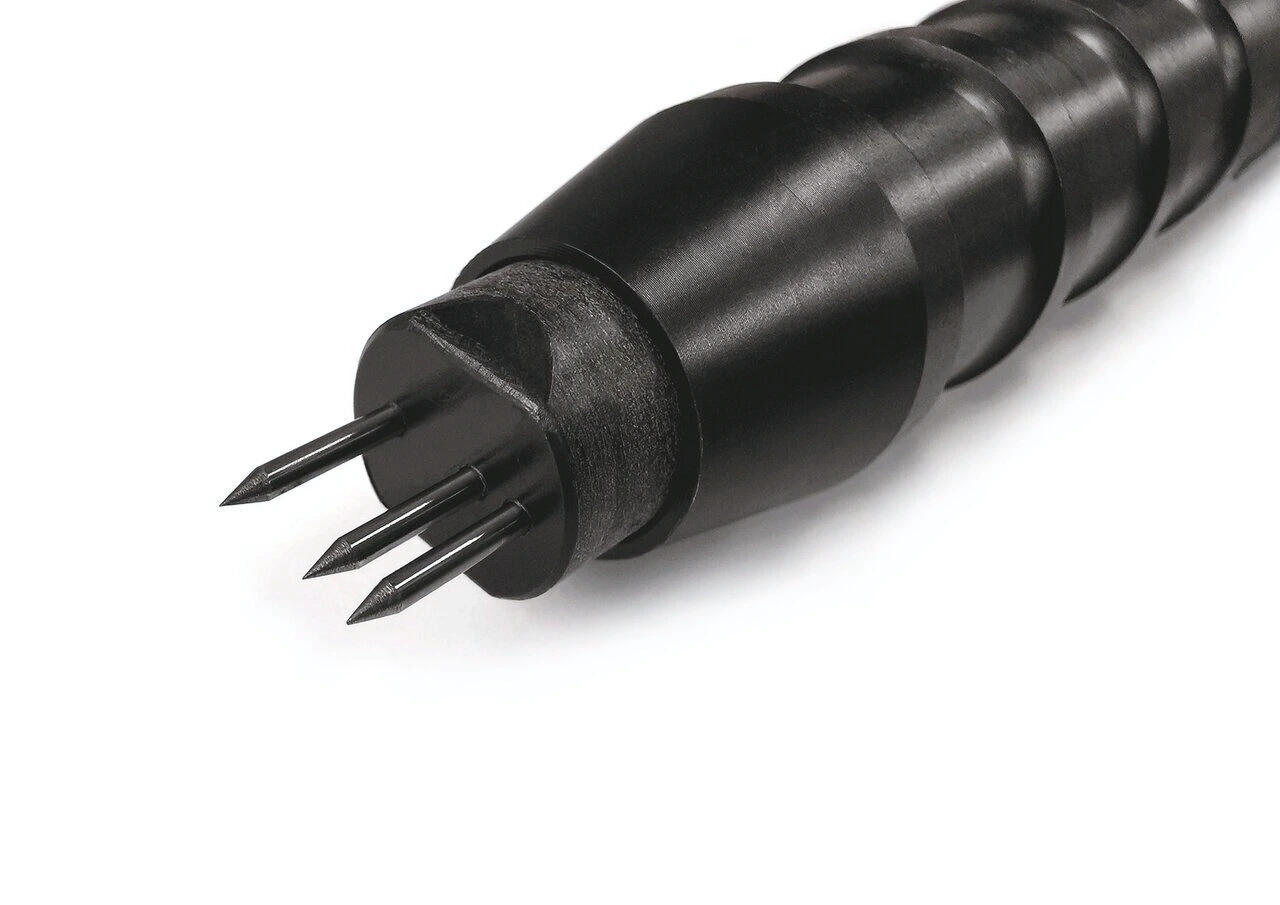
The Special Probe “3+1” f, equipped with an external electrode, is meticulously engineered to measure crack depths greater than 30 mm with ET-28 crack depth meter.
Featuring four electrodes, with three arranged in a single row and one serving as the external current electrode, this sensor offers enhanced capabilities for precise crack depth measurements.
Application
Measuring the depth of cracks in various metals and alloys, including stainless steel and duraluminum. Utilizing AC electro potential measuring, the meter provides rapid and precise depth assessments compared to traditional methods.
Typical control objects
- Shafts, rolls, rolling mills, and components of constructions, machines, and mechanisms.
- Pipes, tubes, and oil-and-gas pipelines.
- Pressure vessels.
- Devices in the energy industry.
- Control of ferromagnetic materials.
- Measurings range – from 30 to 100 mm.
- Sensor «3+1» allows you to take measurements in hard-to-reach places.
- Mobile spring-loaded contact electrodes of the sensor enable the user to perform measurements on curved surfaces.
- Low impact of the material electromagnetic properties on the measurement result.
Prior to each usage for measuring crack depths, it is imperative to verify the device’s operation using a control sample.
Stages of crack depth measuring
- Setting of the “0” – measuring on fl awless location of the object.
- Measuring of crack depth – contact electrodes are located on the opposite sides of the crack, measurement result in mm is shown on the screen.
Requirements for control objects:
- Surface roughness – below or equal to 40 Rz (10 Ra).
- Stable electric contact with the sensor electrodes.


