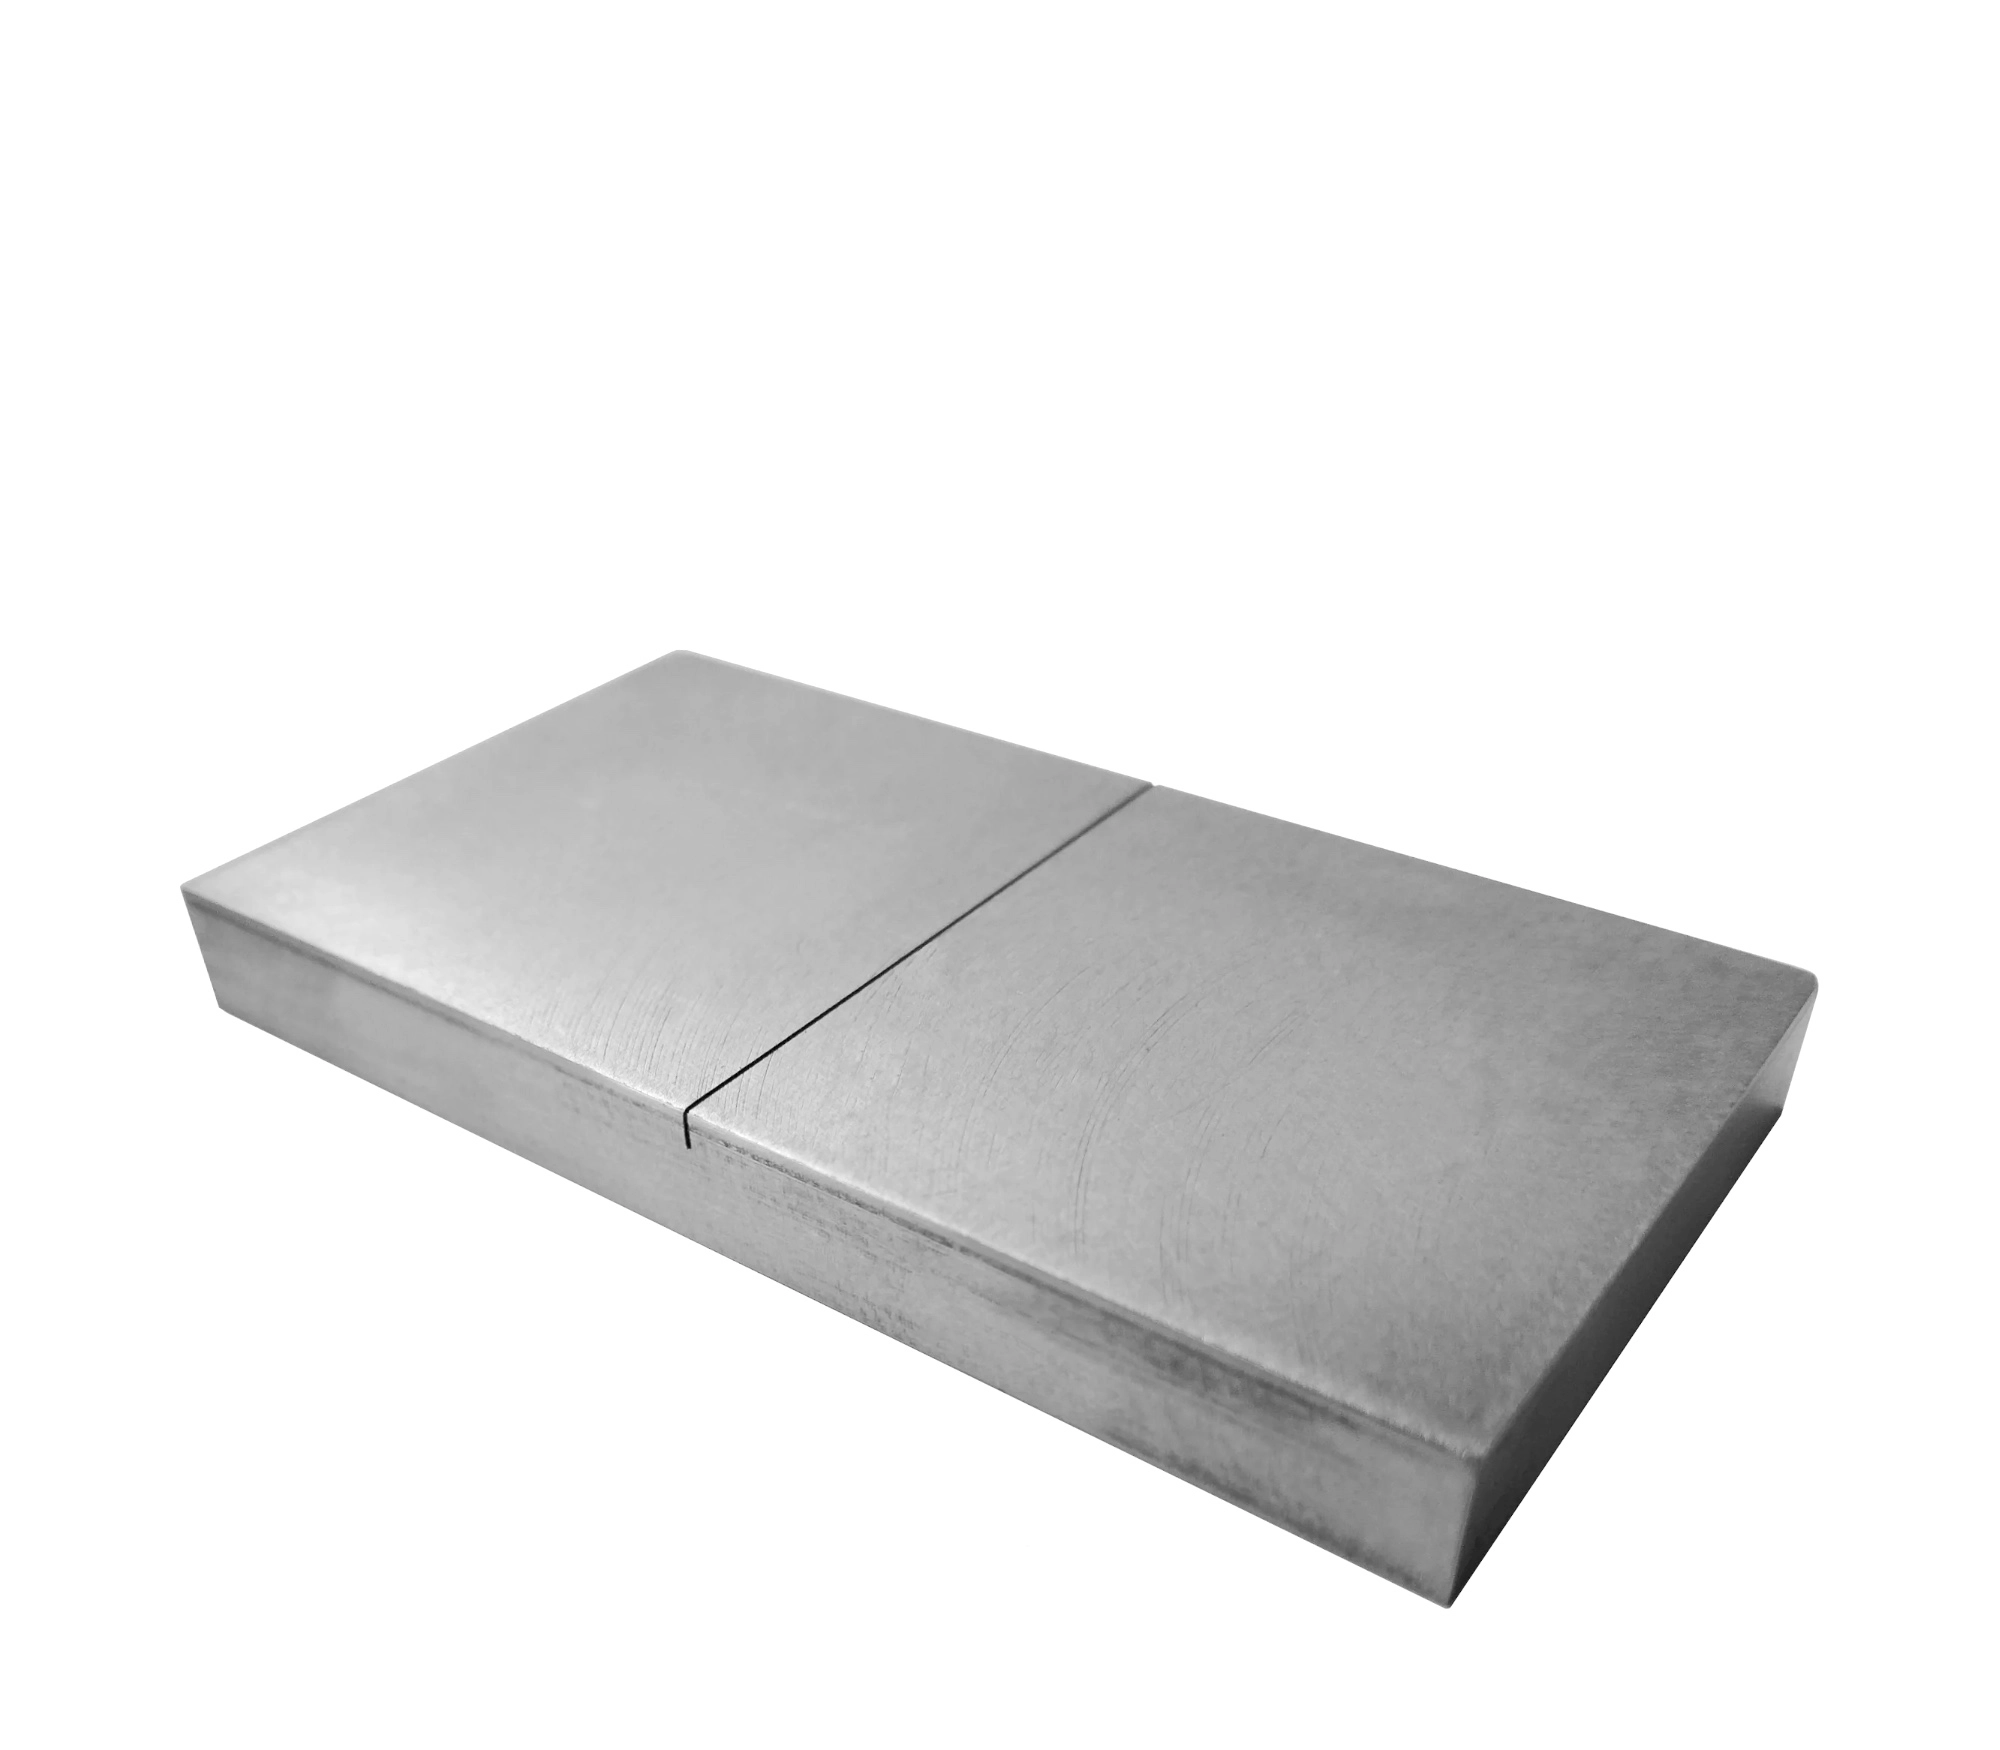
Eddy Current Testing (ECT) is a widely-used non-destructive testing (NDT) method that employs electromagnetic induction to detect surface and subsurface flaws in conductive materials. This technique works by passing an alternating current through a coil, generating a magnetic field. When the coil is placed near a conductive material, such as metals, it induces eddy currents within the material. These eddy currents mirror the magnetic field of the coil and flow in closed loops. Any disruptions in the material, such as cracks or changes in material properties, alter the flow of the eddy currents. These changes are detected by monitoring the impedance variations in the coil, signaling the presence of flaws or discontinuities.
ECT has a wide range of applications across industries like aerospace, power generation, and petrochemical, and is primarily used for surface inspections and tubing examinations. It is particularly sensitive to small cracks and defects, especially in non-ferromagnetic materials. For instance, it is extensively used in inspecting steam generator tubes in nuclear plants and heat exchangers in petrochemical facilities. Additionally, ECT can measure the thickness of coatings and detect corrosion or pitting in materials. However, the method is best suited for conductive materials and its depth of penetration is limited by the material's properties, such as conductivity and permeability.
Applications and variations of Eddy-current testing
ECT is highly versatile, with numerous variations tailored for specific applications. For surface inspections, ECT is ideal for detecting small surface flaws, even through coatings or paint, and is especially useful for ferromagnetic and non-ferromagnetic materials. Advanced variations, such as full saturation ECT, allow for inspecting partially magnetic materials by suppressing variations in permeability through an applied magnetic field. This variation is used in specialized inspections of materials like duplex alloys or thin ferromagnetic materials.
For subsurface flaws, remote-field eddy current testing is commonly used in carbon steel tubing to detect general wall loss or corrosion, though it is less sensitive to small cracks or pits. Additionally, ECT can be used for measuring electrical conductivity and coating thickness in various industries. Despite its limitations, such as depth penetration and the requirement for conductive materials, ECT remains an essential tool for maintaining safety and structural integrity in critical infrastructure.

